
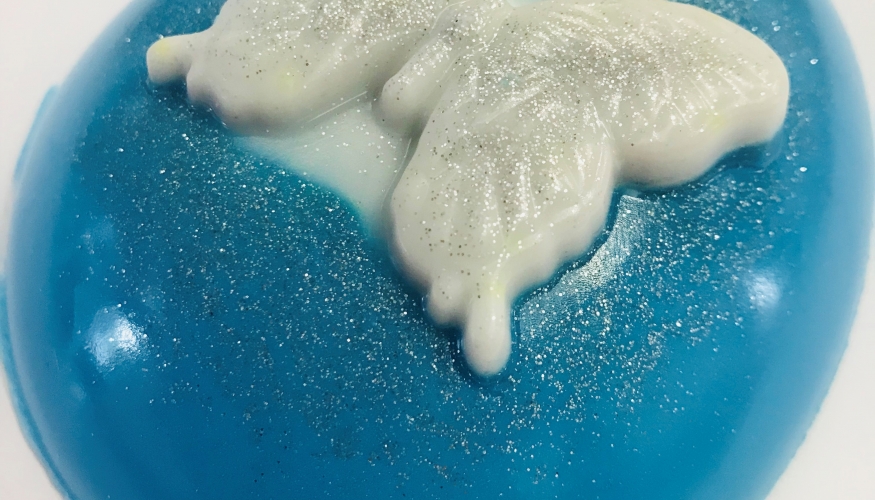
Inspiration
Soap Making Kit Instruction Guide
Before beginning your soap making, please familiarise yourself with the fragrance oil chemicals & hazards, & wear the appropriate PPE (ie apron, goggles, gas mask, gloves) as stated on the Safety Data Sheet.

Step 1 – Weighing your soap
Firstly, cut your soap base in half, then again into smaller chunks. Weigh out approx. 150g per soap bar. Melt the soap base using either a microwave or a slow cooker/hob until melting point, do not overheat your soap base, and always keep below 70° C.
Step 2 – Colour & fragrance your soap
For every half a kilo of soap base, we recommend using up to 10ml of fragrance oil (2%).
Add a sprinkling of the mica colour powder – we normally recommend up to 5% when in ratio with your soap. More mica will give a deeper colour to your soap but could discolour your bath/shower/body if you use too much.
Once you have added all the ingredients stir thoroughly, make sure it is mixed evenly. At any point throughout the process a skin begins to form on top of the soap, this is the soap setting; you can reheat & continue the process at any time.

Step 3 – Pouring
Once you are happy with your soap mix, pour carefully into your mould and wait for your soaps to set. If you are using different colours in one bar, you will need to wait for the first layer to fully set before pouring your second.
To speed up the process, place the moulds in the fridge, this should take around 30 minutes. Once set properly, the soaps should pop out of the moulds with ease, if you cannot pop the soaps out, they may need more setting time.

Step 4 – Re-pouring
If you are using 2 different colours, now is the time to melt & pour your second colour (when the first layer is completely set). Wait until your second layer is completely set before attempting to remove your soaps from the mould.

Step 6 – Removing from the moulds
If you find your soaps are difficult to remove from the moulds, you might want to pop them in the fridge to ease the removal.
The finished result
You should now have 6 soaps to enjoy!

We’d love to see your work!
Once you’ve made your soap, take a picture and share your work on Instagram or Facebook and tag us!
Leave your thought Cancel Reply