Posted on: April 23rd 2021

 Hub
HubFor all things candle and home fragrance making!
Looking for a perfect baby shower token? Our gender reveal wax melts are super fun to make and will leave your guests guessing! You only need a few simple ingredients to get started! Our step by step guide below will show you how to make show stopping favours.
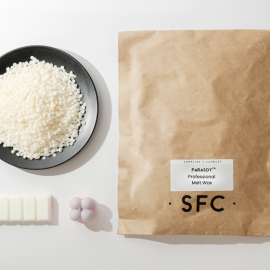
You will need:
● Parasoy™ Professional Melt Wax
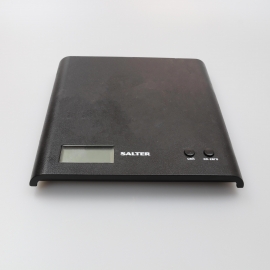
● Weighing Scales
● Pouring Jug
● Thermometer
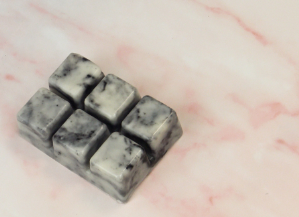
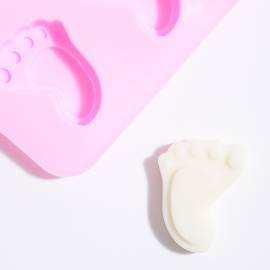
● Footprint Silicone Mould
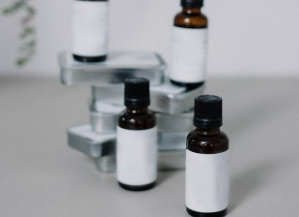
● Fragrance Oil (if using)
● Pan
● Hob/Hot Plate/Double Boiler
Measure out your Candle Wax. We used around 60g of wax for our heart and feet moulds, you can find how much wax each mould holds on the product description on our website. You will need around 120g of wax to be divided into two batches. At this stage, it’s important to note that you will be melting two batches of wax, one batch for the foot wax melts, and another batch to make chunks of coloured wax to embed in the wax melts later on.
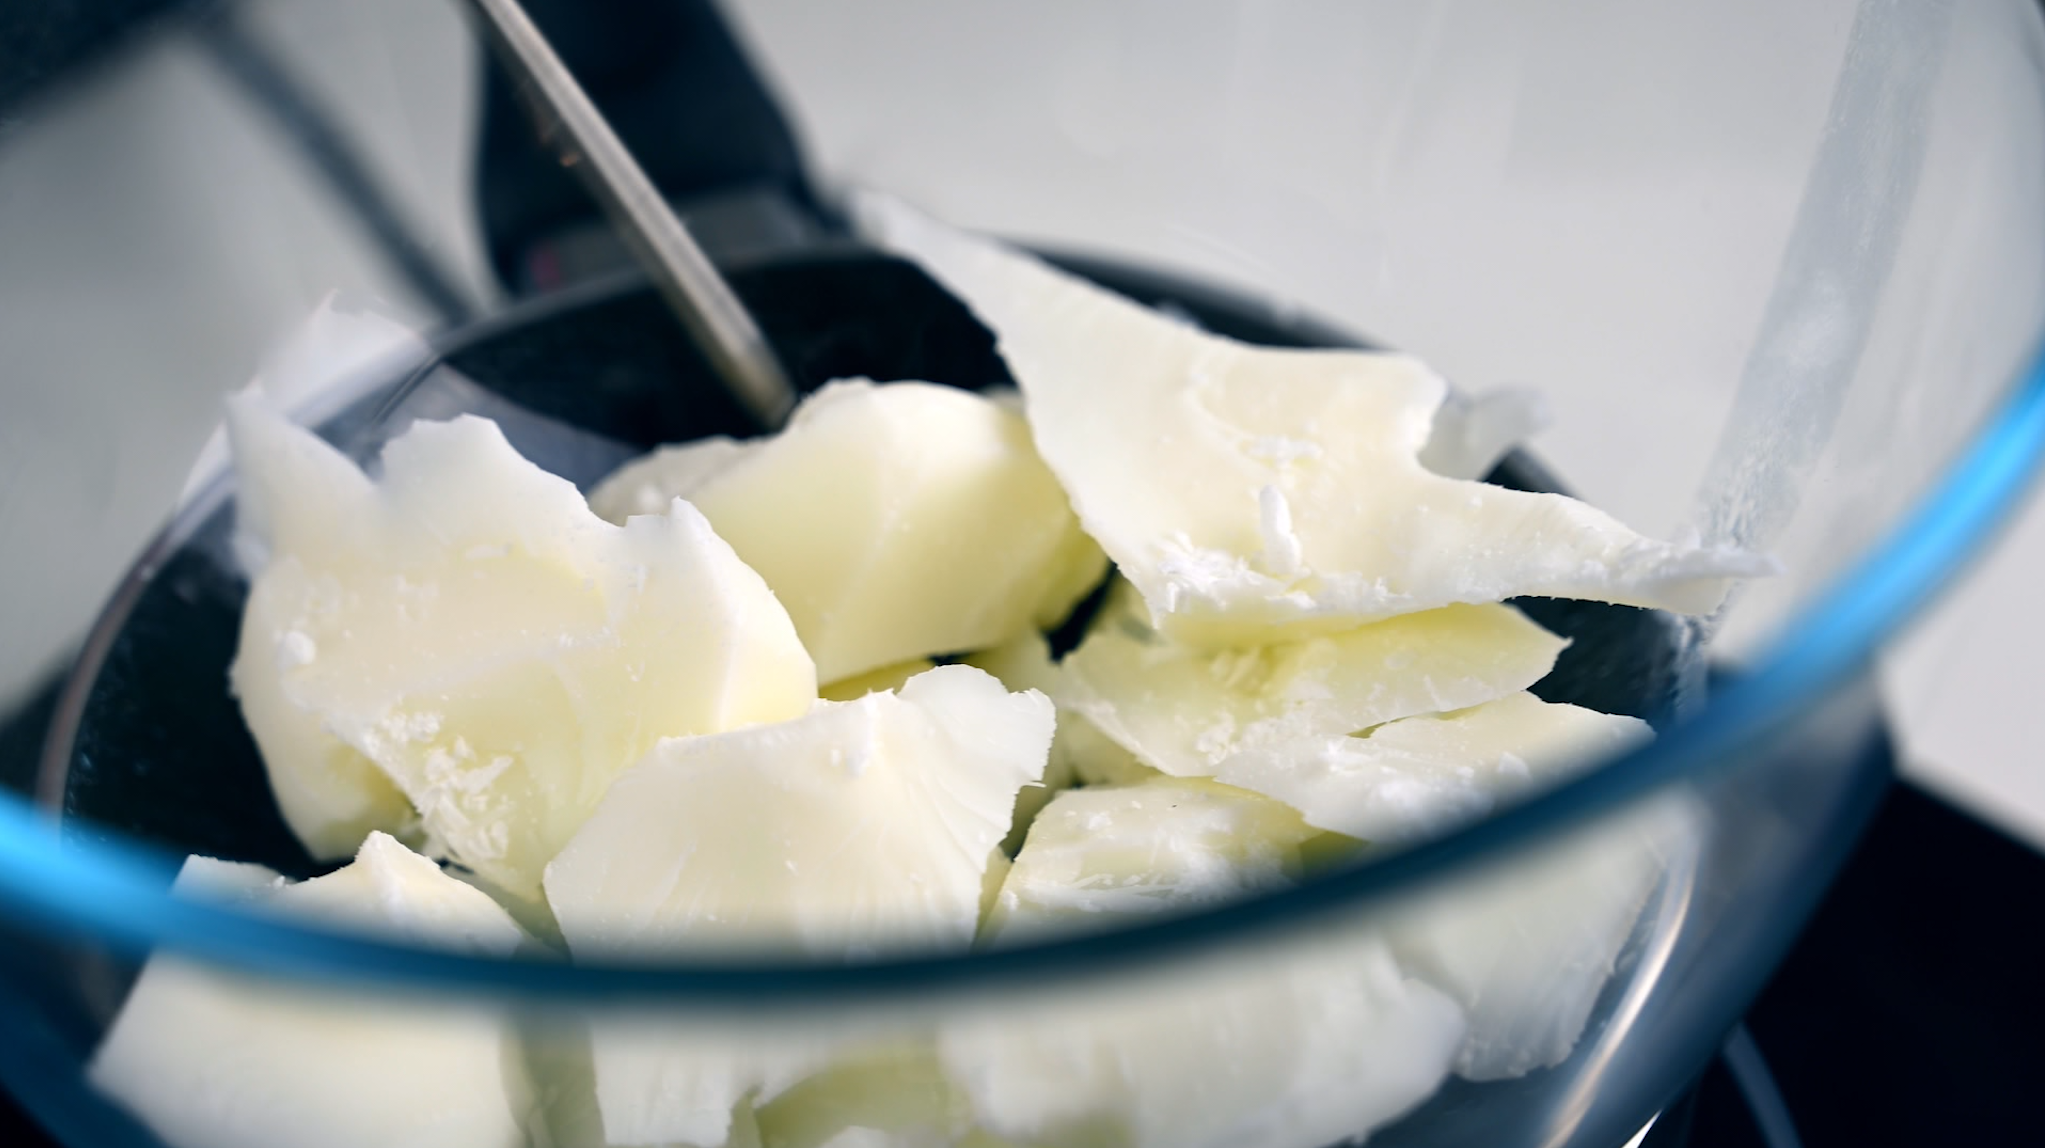
We put our wax into a heatproof bowl and place it on top of a pan filled half way with water. Pop the pan on the hob over a low to medium heat, and wait for your wax to melt. Remember to not let your wax exceed 80 degrees as this can affect the performance and quality of your wax. Once melted, split your wax in half between two pouring jugs!

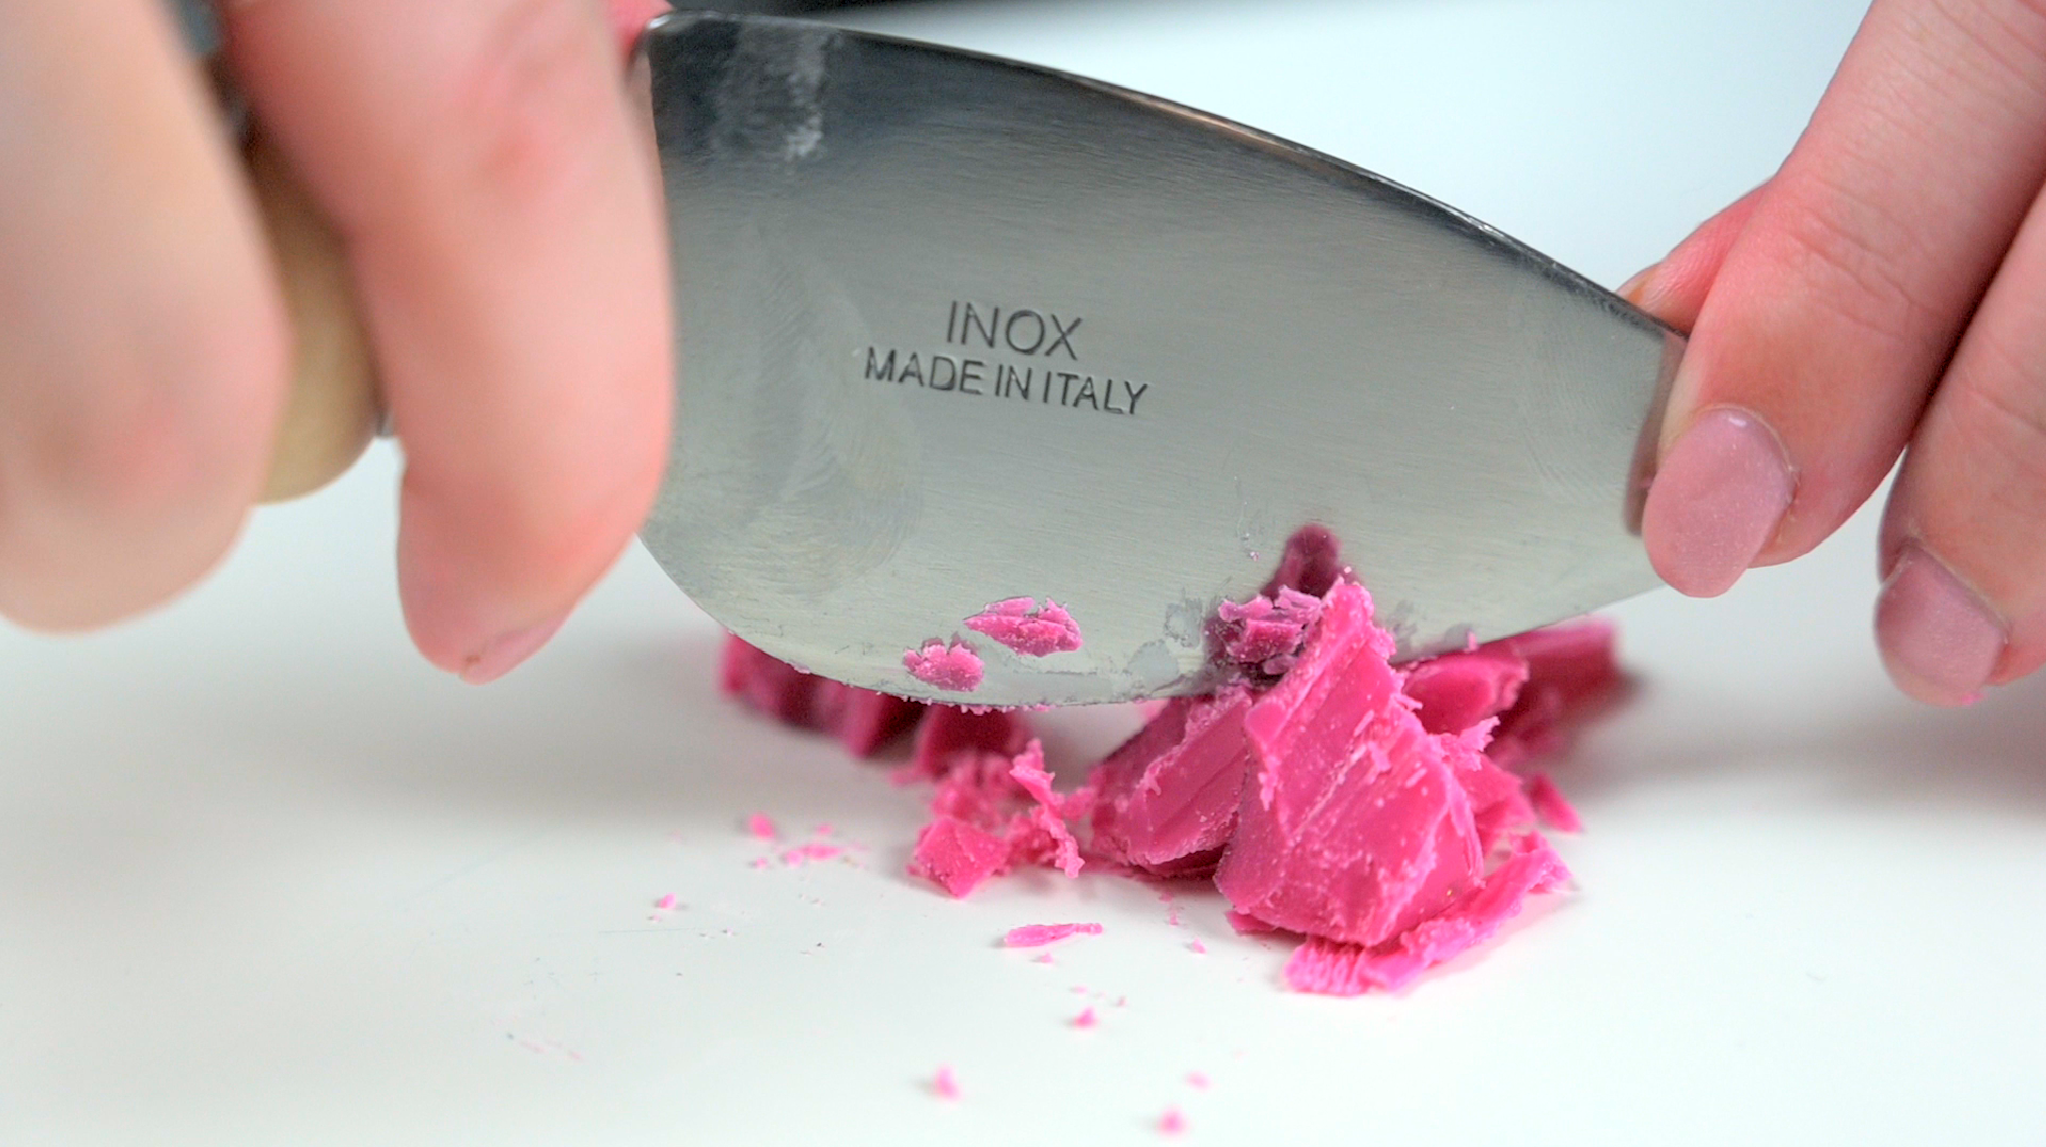
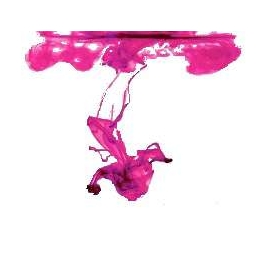
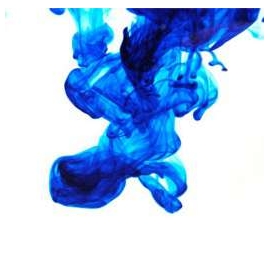
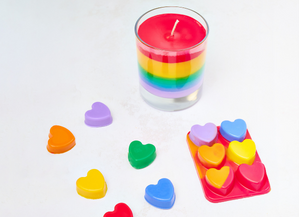
For your foot wax melts to reveal a colour you will need to embed a small chunk of coloured wax into your melts. We used our heart shaped clamshell to create individual wax melts, but you can use any mould you have to hand! For our wax melts we simply split our melted wax in half, around 60g, and mixed in our chosen dye before pouring it into our mould. You want the colour in your melts to be strong so add plenty of chips or drops of liquid dye so that they reveal the colour clearly when melted. We have a selection of pinks and blues to choose from on our website!
Once your coloured melts have set, remove them from their mould and chop into small chunks! Set your chopped up wax to one side while you make a start on your foot mould!
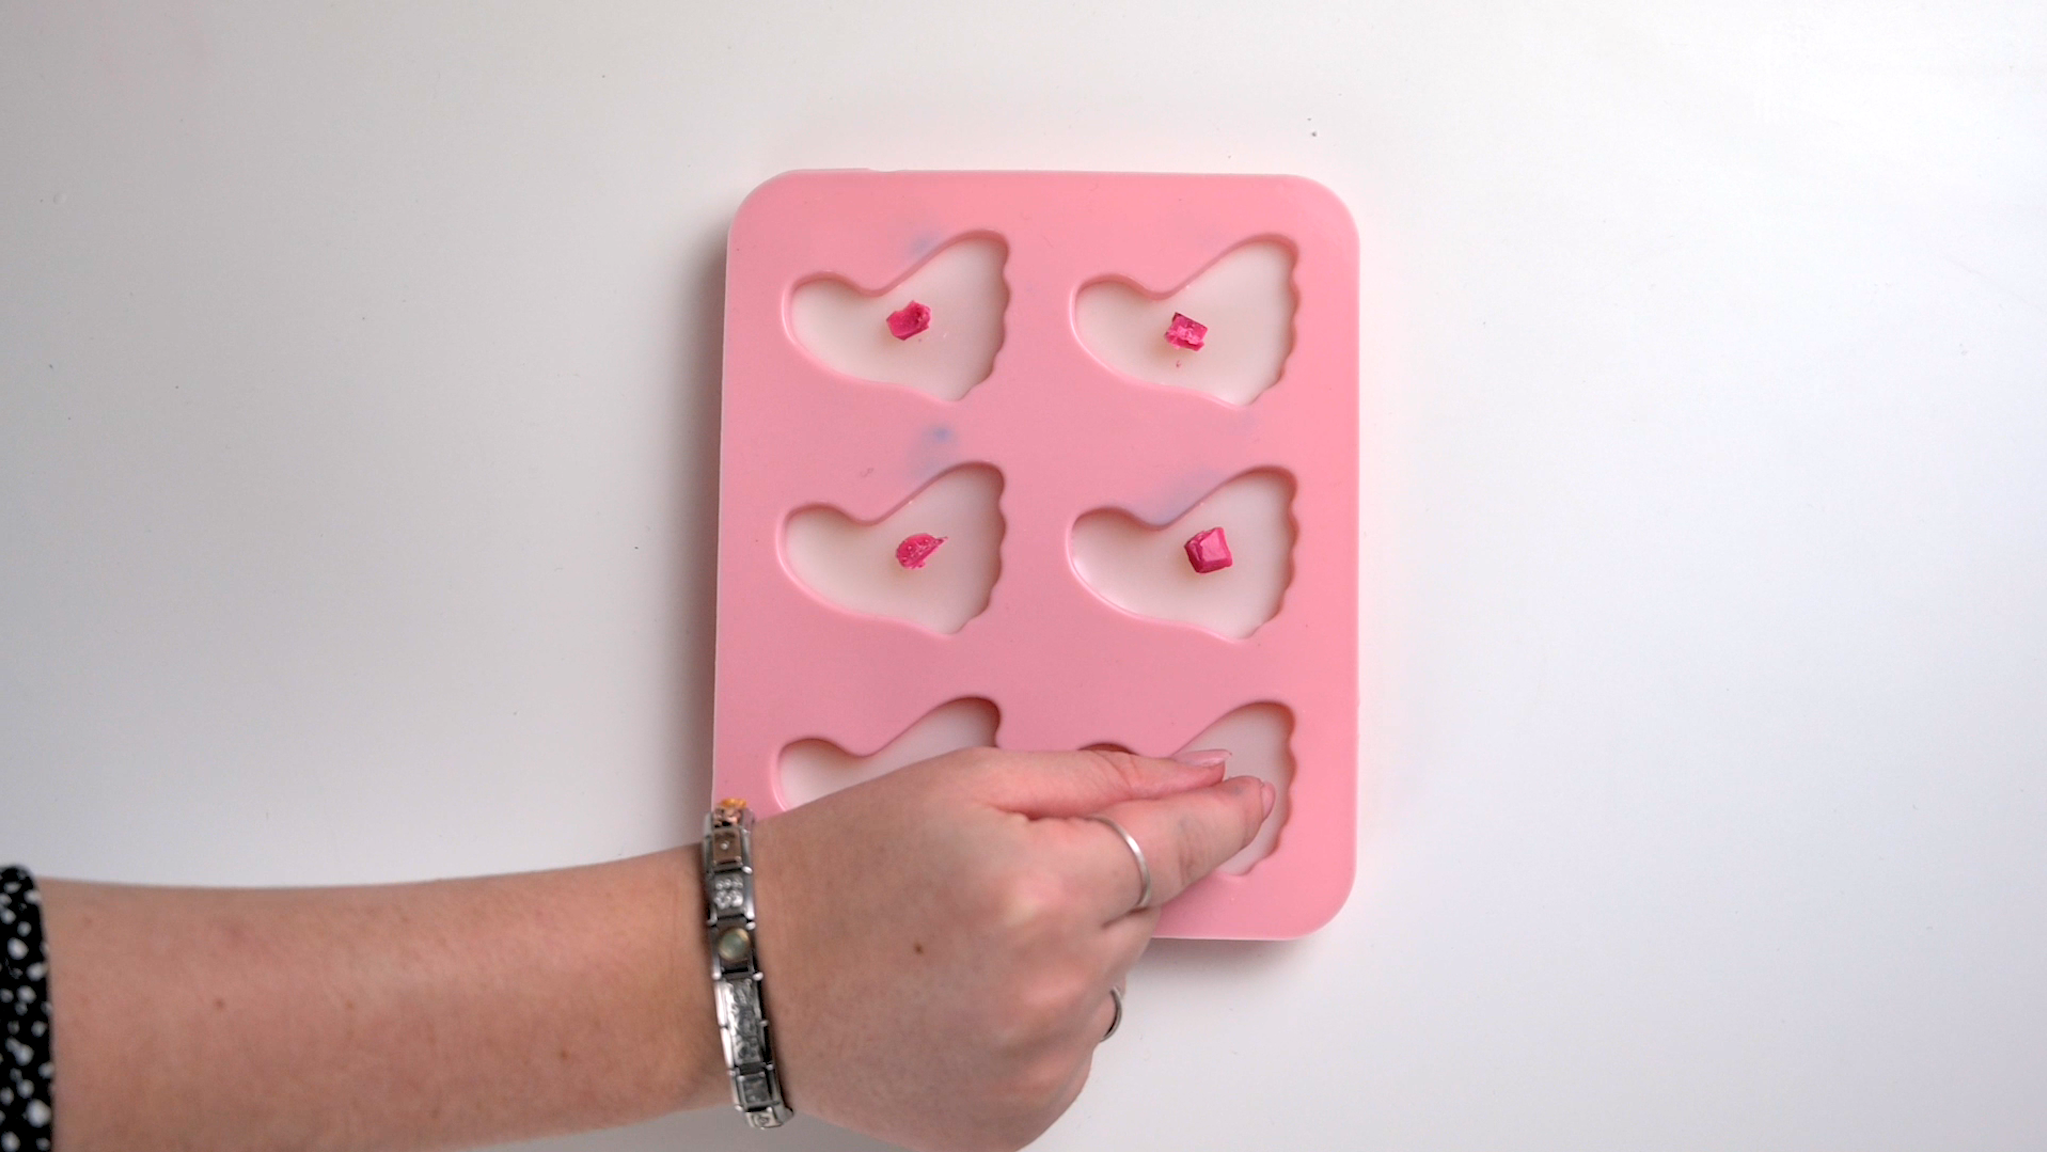
Using the other half of your melted wax, cool it to the correct temperature before adding your chosen fragrance, we have a range of baby inspired fragrances to choose from on our website! Allow your wax to then cool to the appropriate pouring temperature. You will then pour the wax into your foot mould to around half way. Allow your first layer to set slightly.

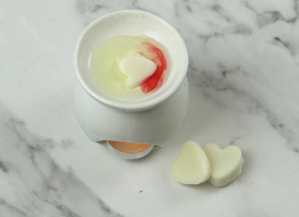
Once your wax has cooled to a jelly like consistency you can then pop your dye chunks in the centre of each wax melt! Make sure the dye chunks are flush with the top of your mould as you don’t want the colour to be seen! You can then reheat your remaining wax and pour your second layer. Fill you moulds to the top ensuring the coloured dye chunks are covered. Leave your melts to set and cure for up to two weeks!
Now you’re ready to burn your melts and reveal that all intriguing colour.
We’d love to see your work!
Please take photos of your wax melts and use the hashtag #sfcfeatureme on Instagram to be in with the chance of being featured on our page!

Everything you need to get started making your first candle.
Go to the Shop
Sign up to our mailing list to ensure you don't miss out and get 10% off your first order in your welcome email!


.jpg)