
Posted on: August 10th 2020

 Hub
HubFor all things candle and home fragrance making!
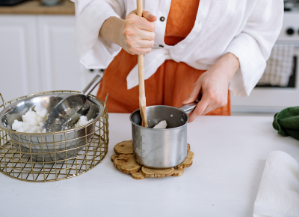
When it comes to candle making, there are a whole host of issues that you may come across. This guide will take you through some of the most common issues and our advised solutions for fixing your issues. As with most crafts, candle making is heavily down to trial and error and finding what works for you, experimenting with your practices, equipment and products time after time will soon allow you to fine tune your candle making process.
Simply, a mushroom wick occurs when the wax in your candle is unable to burn fast enough to keep up with your chosen wick. This means that the wick starts to absorb the wax which creates a buildup of carbon particles on the wick. The most common reason for mushroom wicking to occur is down to the size of the wick you have opted for. Usually, a wick that is too big causes more wax to be sent to the flame than it can handle. Fixing a mushroom wick is quite simple, all you need to do is trim the black cap of the wick and straighten the wick as normal. In order to avoid mushroom wicking happening altogether, you may want to opt for a completely different wick.
Read our blog; Mushroom wicks: Avoiding basic issues here.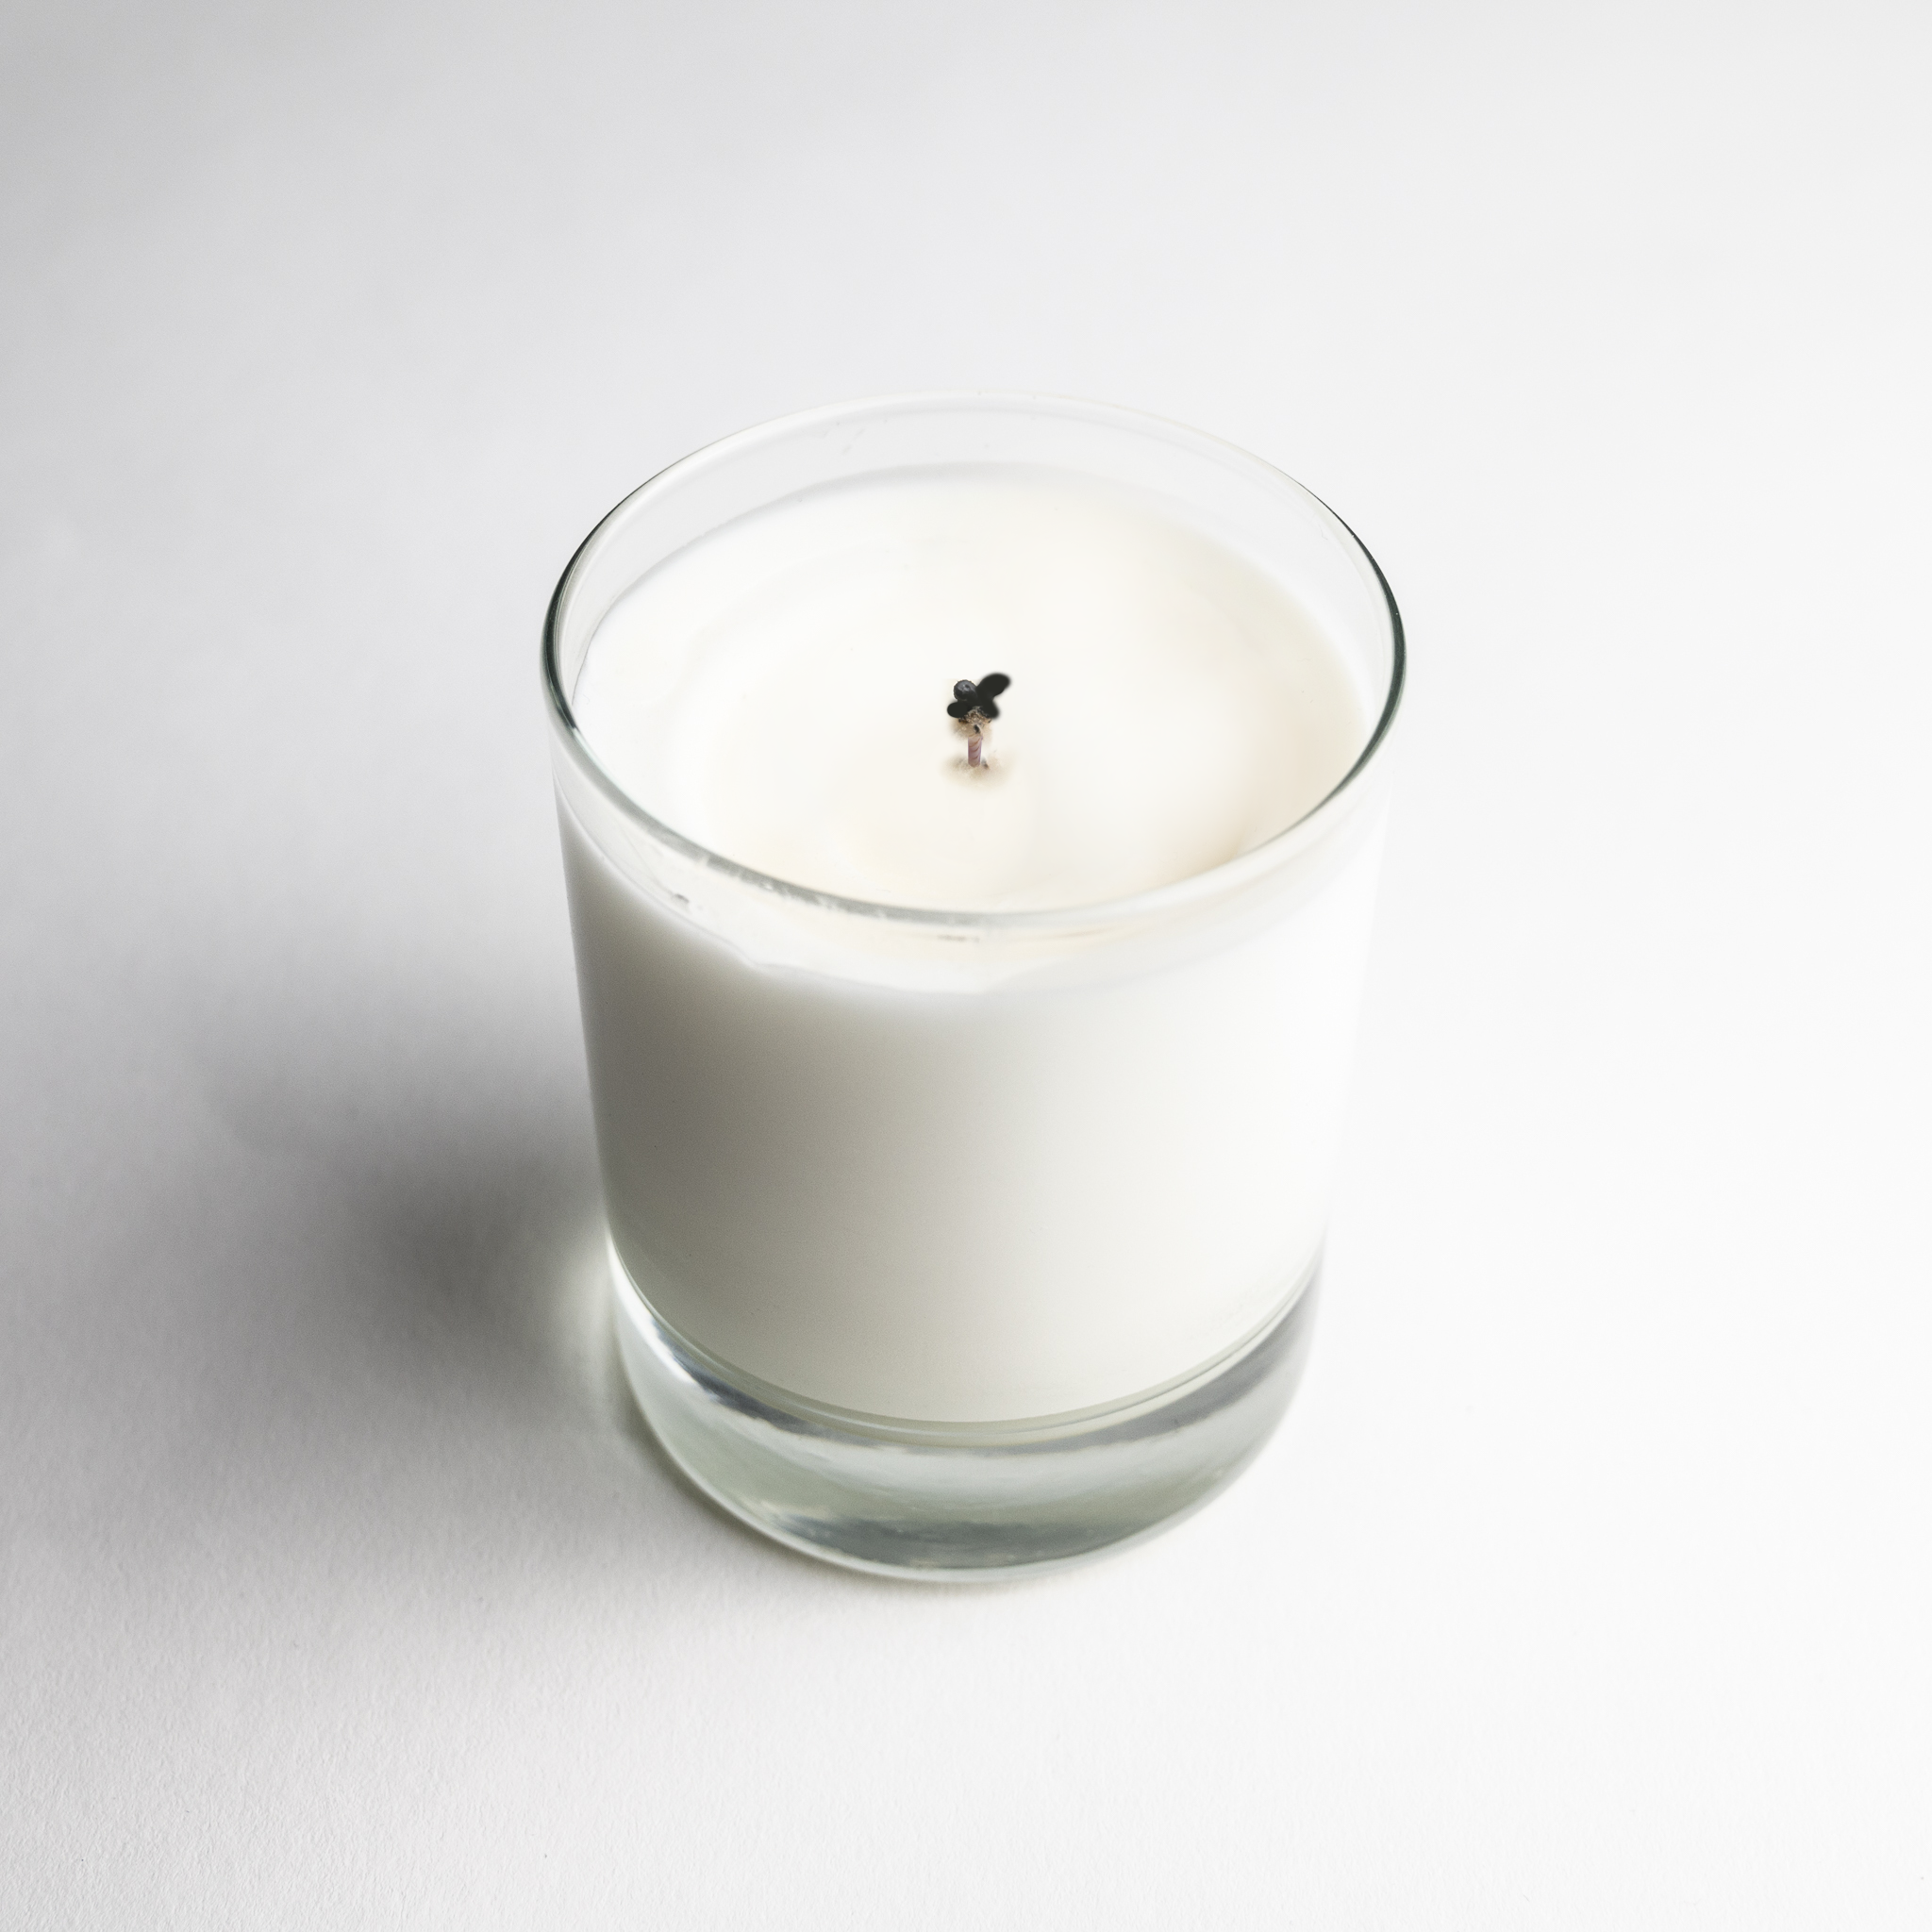
When it comes to making your candle, ensuring that your wick remains centred to the candle will ensure that you get an even and good melt pool, provided you select the right wick beforehand. In order to ensure your wick stays centred during the pouring process, we suggest using just a few of our tools that we have available on our website. Our wick sustainers and wick stickums are perfect for keeping your wick adhered to the bottom of the glass during the pouring process. The other tool we have on offer is our wick centering tool. Also available online, our wick centering tool ensures that your wick stays straight and upright during your candles cooling process.
Read our blog; What Wicks To Use here.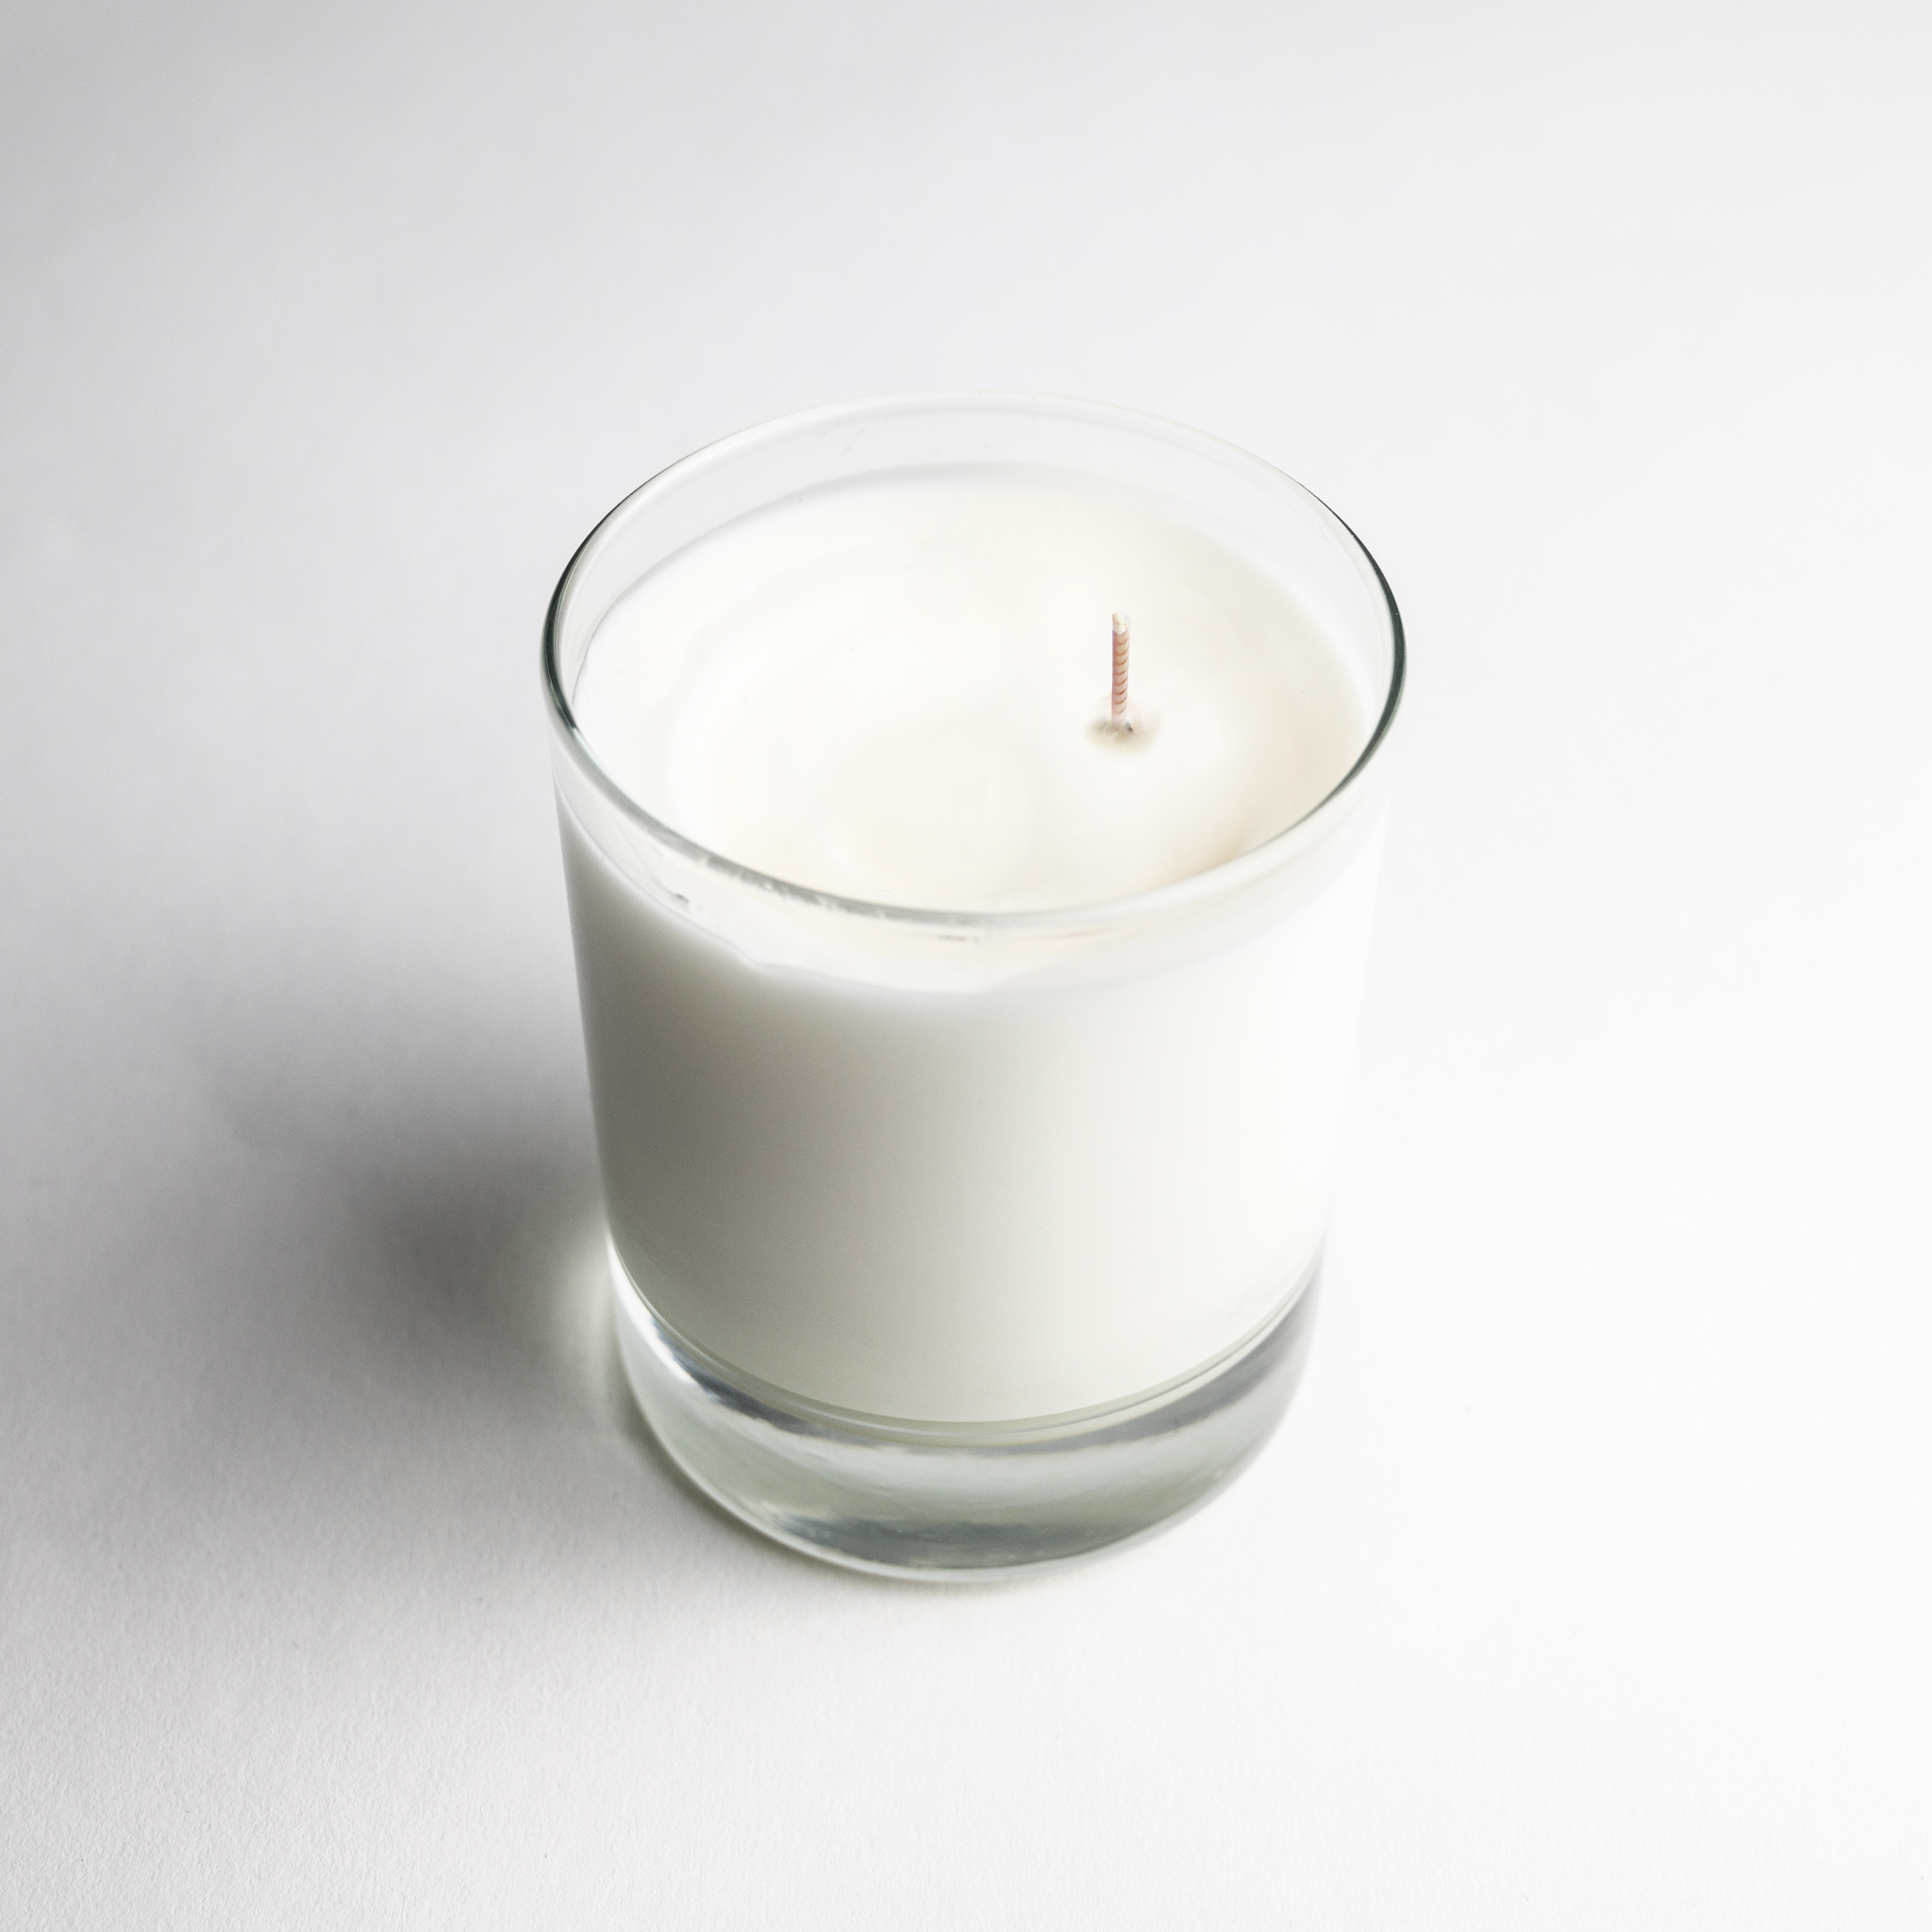
Frosting naturally occurs as it’s a byproduct of wax. Frosting is caused by the growth of small crystals that appear on the surface of the wax. Potential causes could be that the wax has too much oil present, or the wax has cooled too quickly. Possible solutions are using a harder wax or a wax with a higher melt point and allowing the wax to be cooled more slowly, in a warmer environment.
Read our blog; Best Ways To Melt Candle Wax here.
White lines, also called ‘jump lines’, can be caused by your container being too cold or the wax being poured too cold. Potential solutions include heating your containers before pouring or pouring your wax at a higher temperature.
Read our blog; Best Ways To Melt Candle Wax here.
Pullaways and wets spots are caused by your wax not adhering to your jar in certain places giving the wet spot appearance. In order to avoid wet spots you need to; ensure that your glasses are thoroughly cleaned before use, try preheating the glasses before pouring, try lowering the pour temperature to avoid shrinkage, try using additives such as Rapeseed wax to soften the wax and you can also use a heat gun to reheat the outside of the glasses and get rid of the wet spots.
Read our blog; Best Ways To Melt Candle Wax here.
Cracks and texture changes in candles are caused by the wax being cooled too fast, usually because the candle has been cooled in a fridge or freezer. To avoid cracking cool at room temperature, or in warm water, or you can also use a heat gun to reheat the outside of the glasses and get rid of the rough surface.
Read our blog; Best Ways To Melt Candle Wax here.
Sinkholes are normal and unavoidable in candle making. Wax naturally expands when heated and shrinks when cools, this shrinkage sometimes causes sinkholes. Potential solutions are pouring your wax at a lower temperature, as the lower the temperature, the less shrinkage occurs. Heating your containers can also reduce your shrinkage rate. We also suggest to poke holes around the wick and refill during cooling. To get a smooth top surface this may need to be done several times.
Read our blog; Best Ways To Melt Candle Wax here.
The main cause of your wick not staying lit is often caused when your wick is too small, or the wick is getting clogged from candle dyes. Potential solutions include using a larger wick, or reducing the amount of colour used in your candle.
Read our blog; What Wicks To Use here.
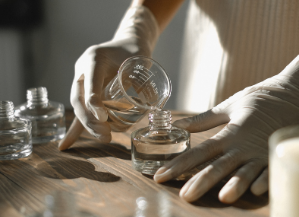
If your candle sweats or has an oily surface, it is often caused by adding too much fragrance oil or by adding your fragrance at a temperature that is too cool for your wax. Selecting the correct temperature and % of fragrance oil will help your wax and oil bind better. If you find that your fragrance does not bind properly, the fragrance will start to separate from the wax and rise to the surface of the candle, hence the sweating look. We recommend using a 6-10% fragrance oil to wax ration and advise adding your fragrance oil at 65°C.
Read our blog; How Much Fragrance To Add To Candles here for more information on adding fragrance.
A smoking candle can be caused by a number of factors, such as the wick being too large, the wick not being cut short enough, too much fragrance oil in the wax or air pockets in the candle. Potential solutions are using a smaller wick size and keeping the wick trimmed to half a cm tall.
Read our blog; What Wicks To Use here.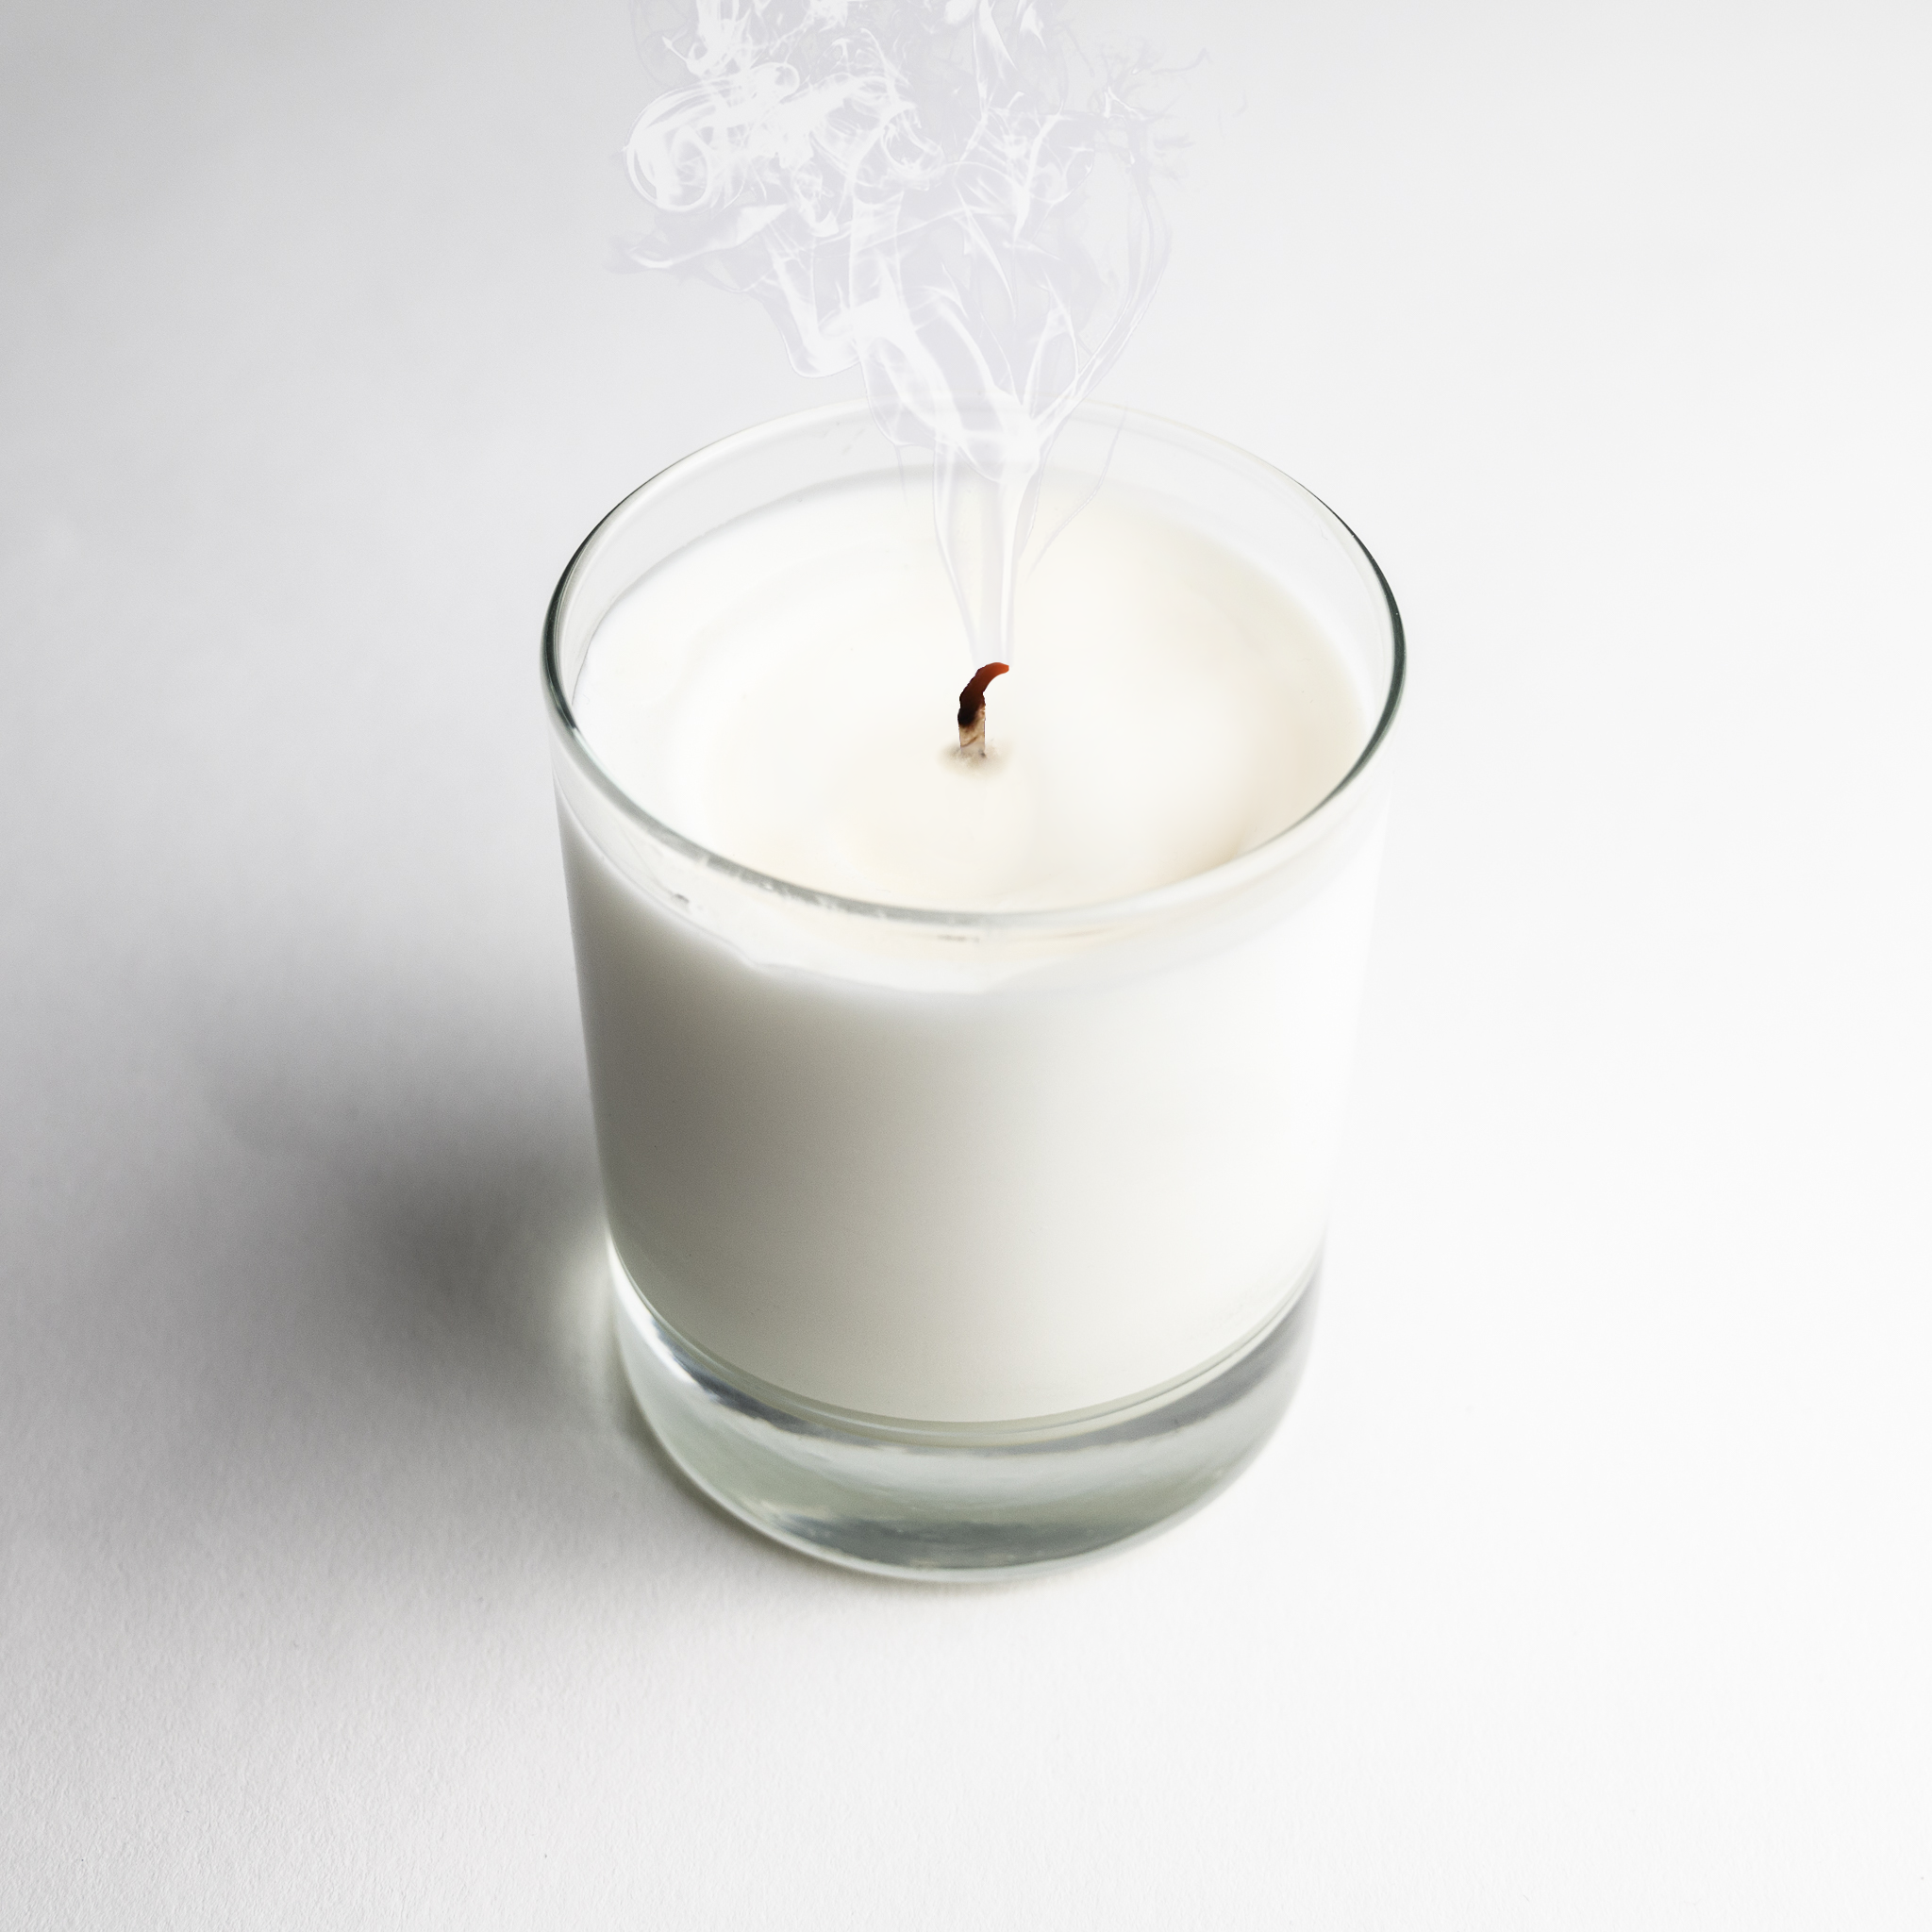
The main cause of a small melt pool is due to the wick being too small, the solution is to try a larger wick to increase your melt pool size. The wax could also be too hard, try a lower melt point or a softer wax or try using an additive such as beeswax to soften your wax.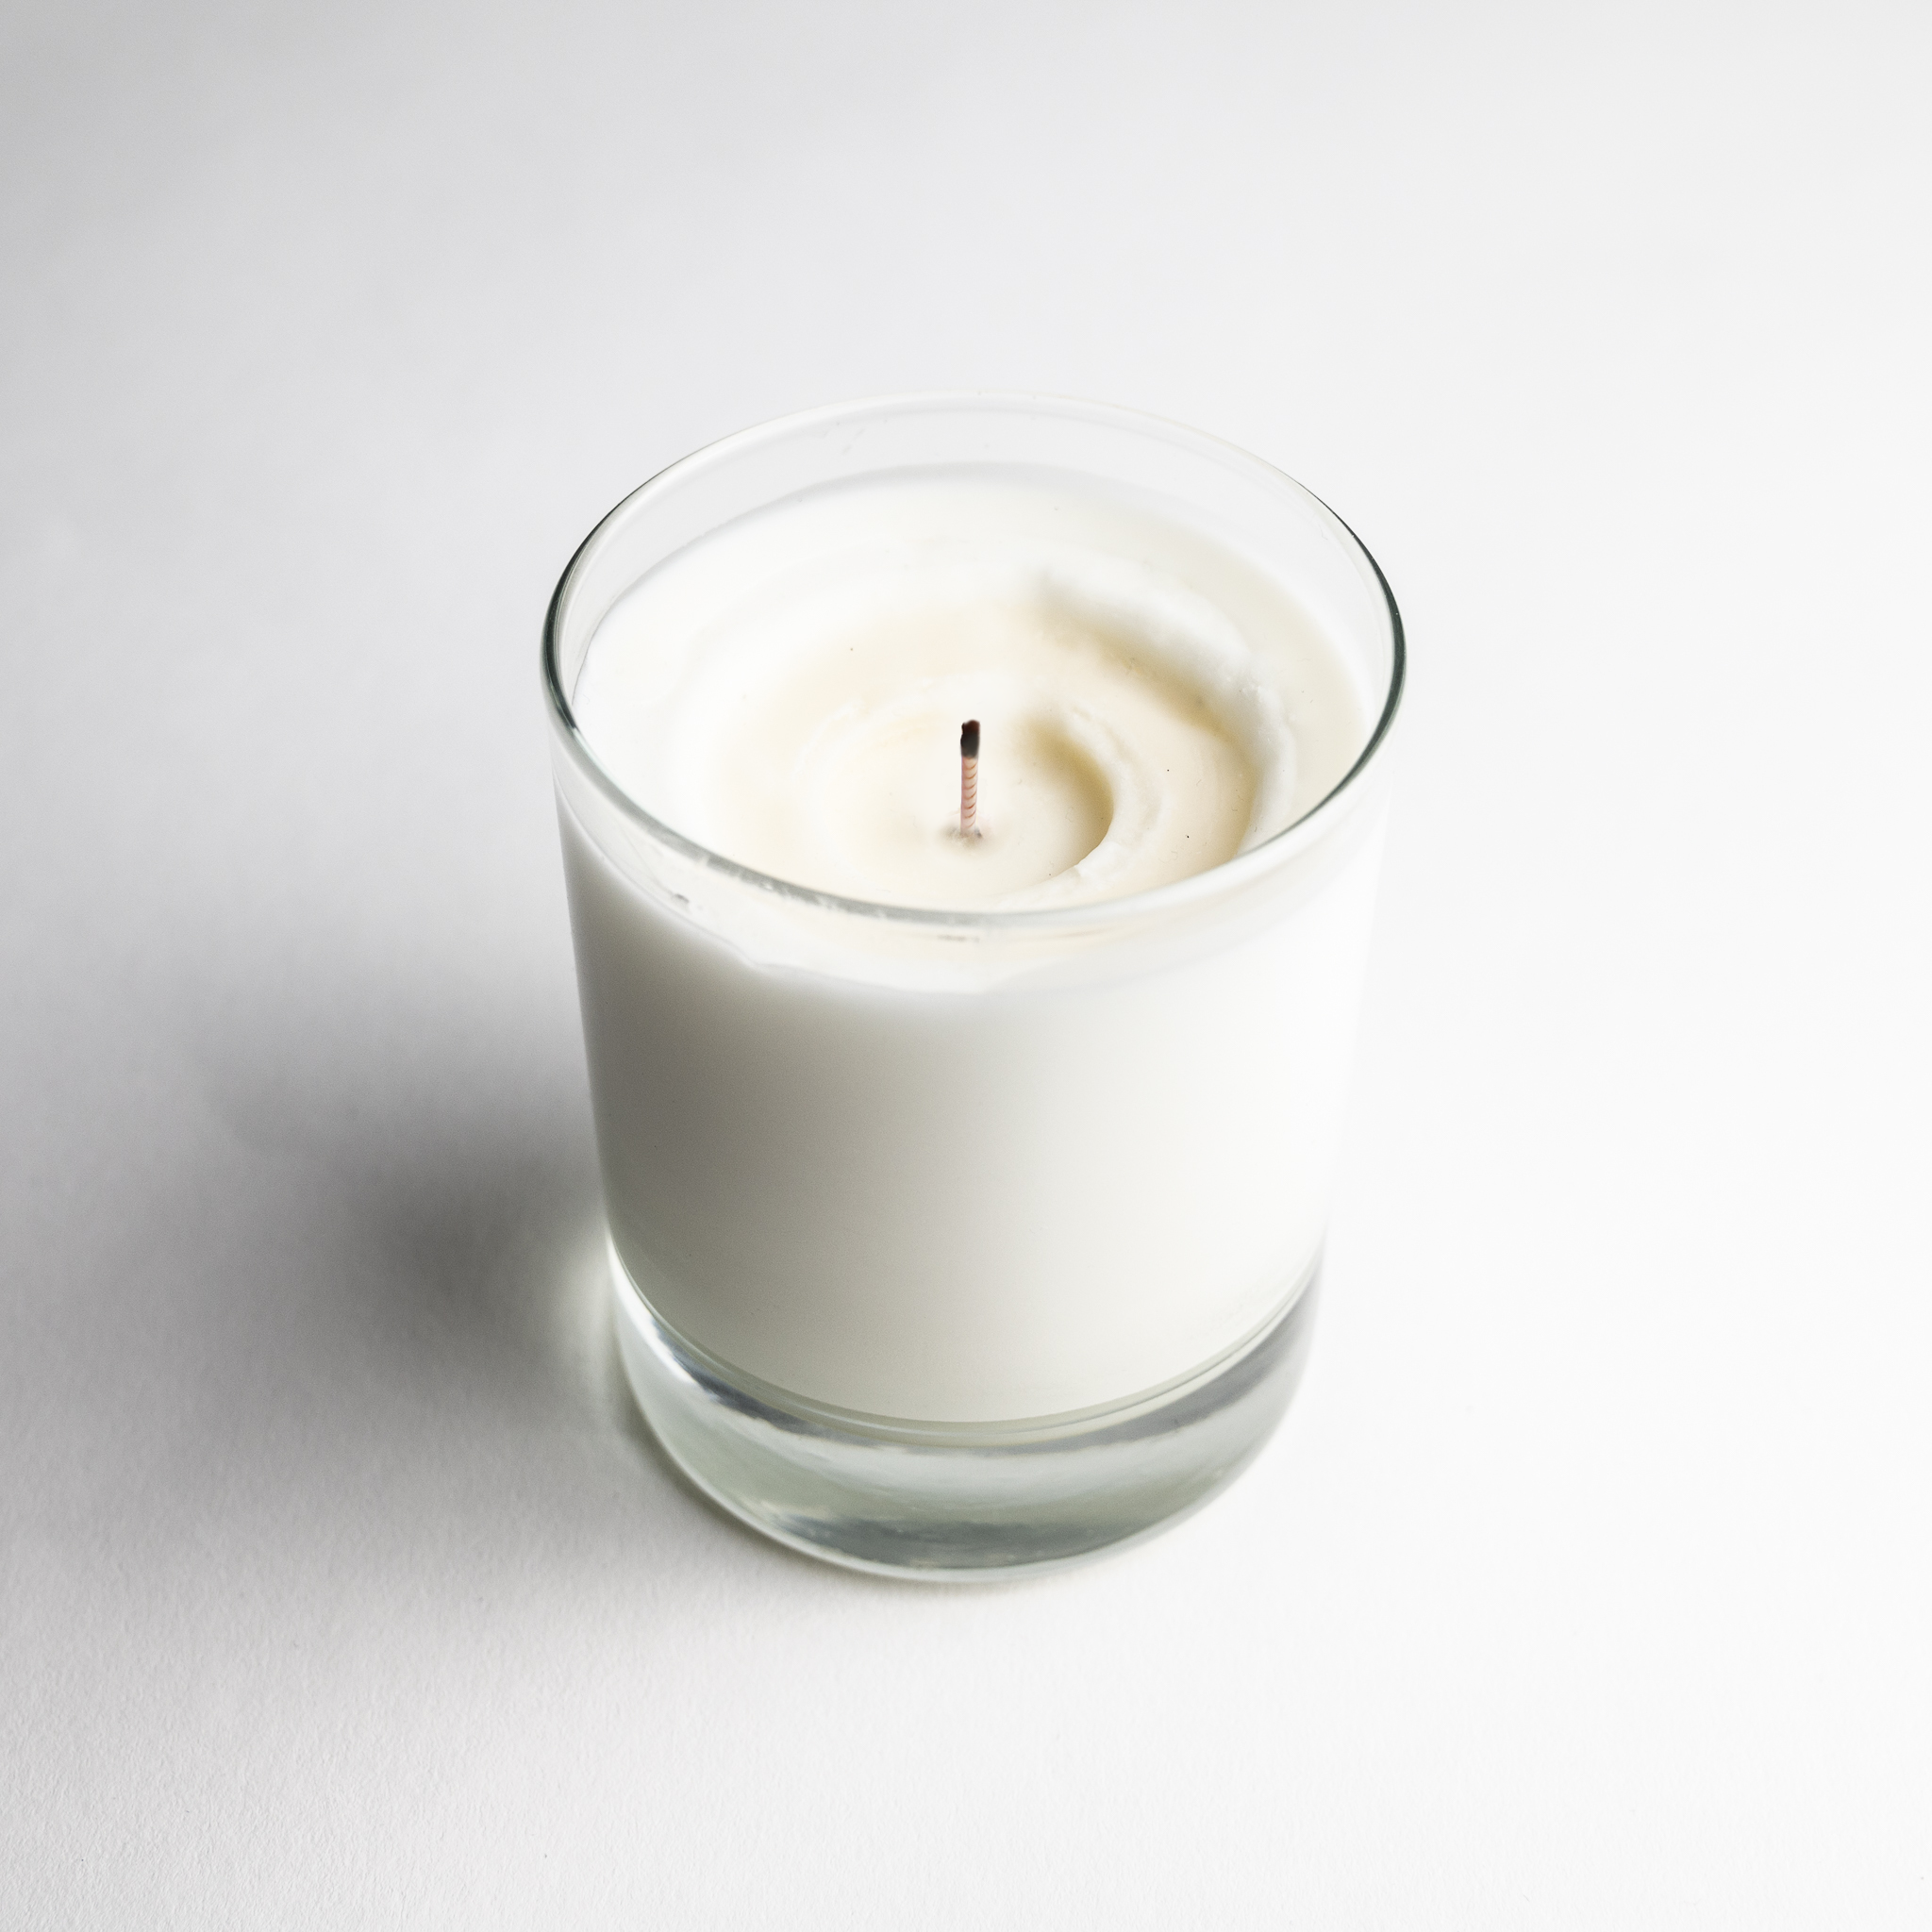
Air bubbles can be caused in numerous ways. Possible causes are that the wax was cooled too quickly, the wax was poured too cold, or too fast. Or the air simply wasn’t released. Possible solutions are to allow the wax to cool more slowly, pour the wax at a hotter temperature, pour the wax more slowly, try tilting the containers when pouring the wax, also tap the containers once the pour is completed to release the air bubbles.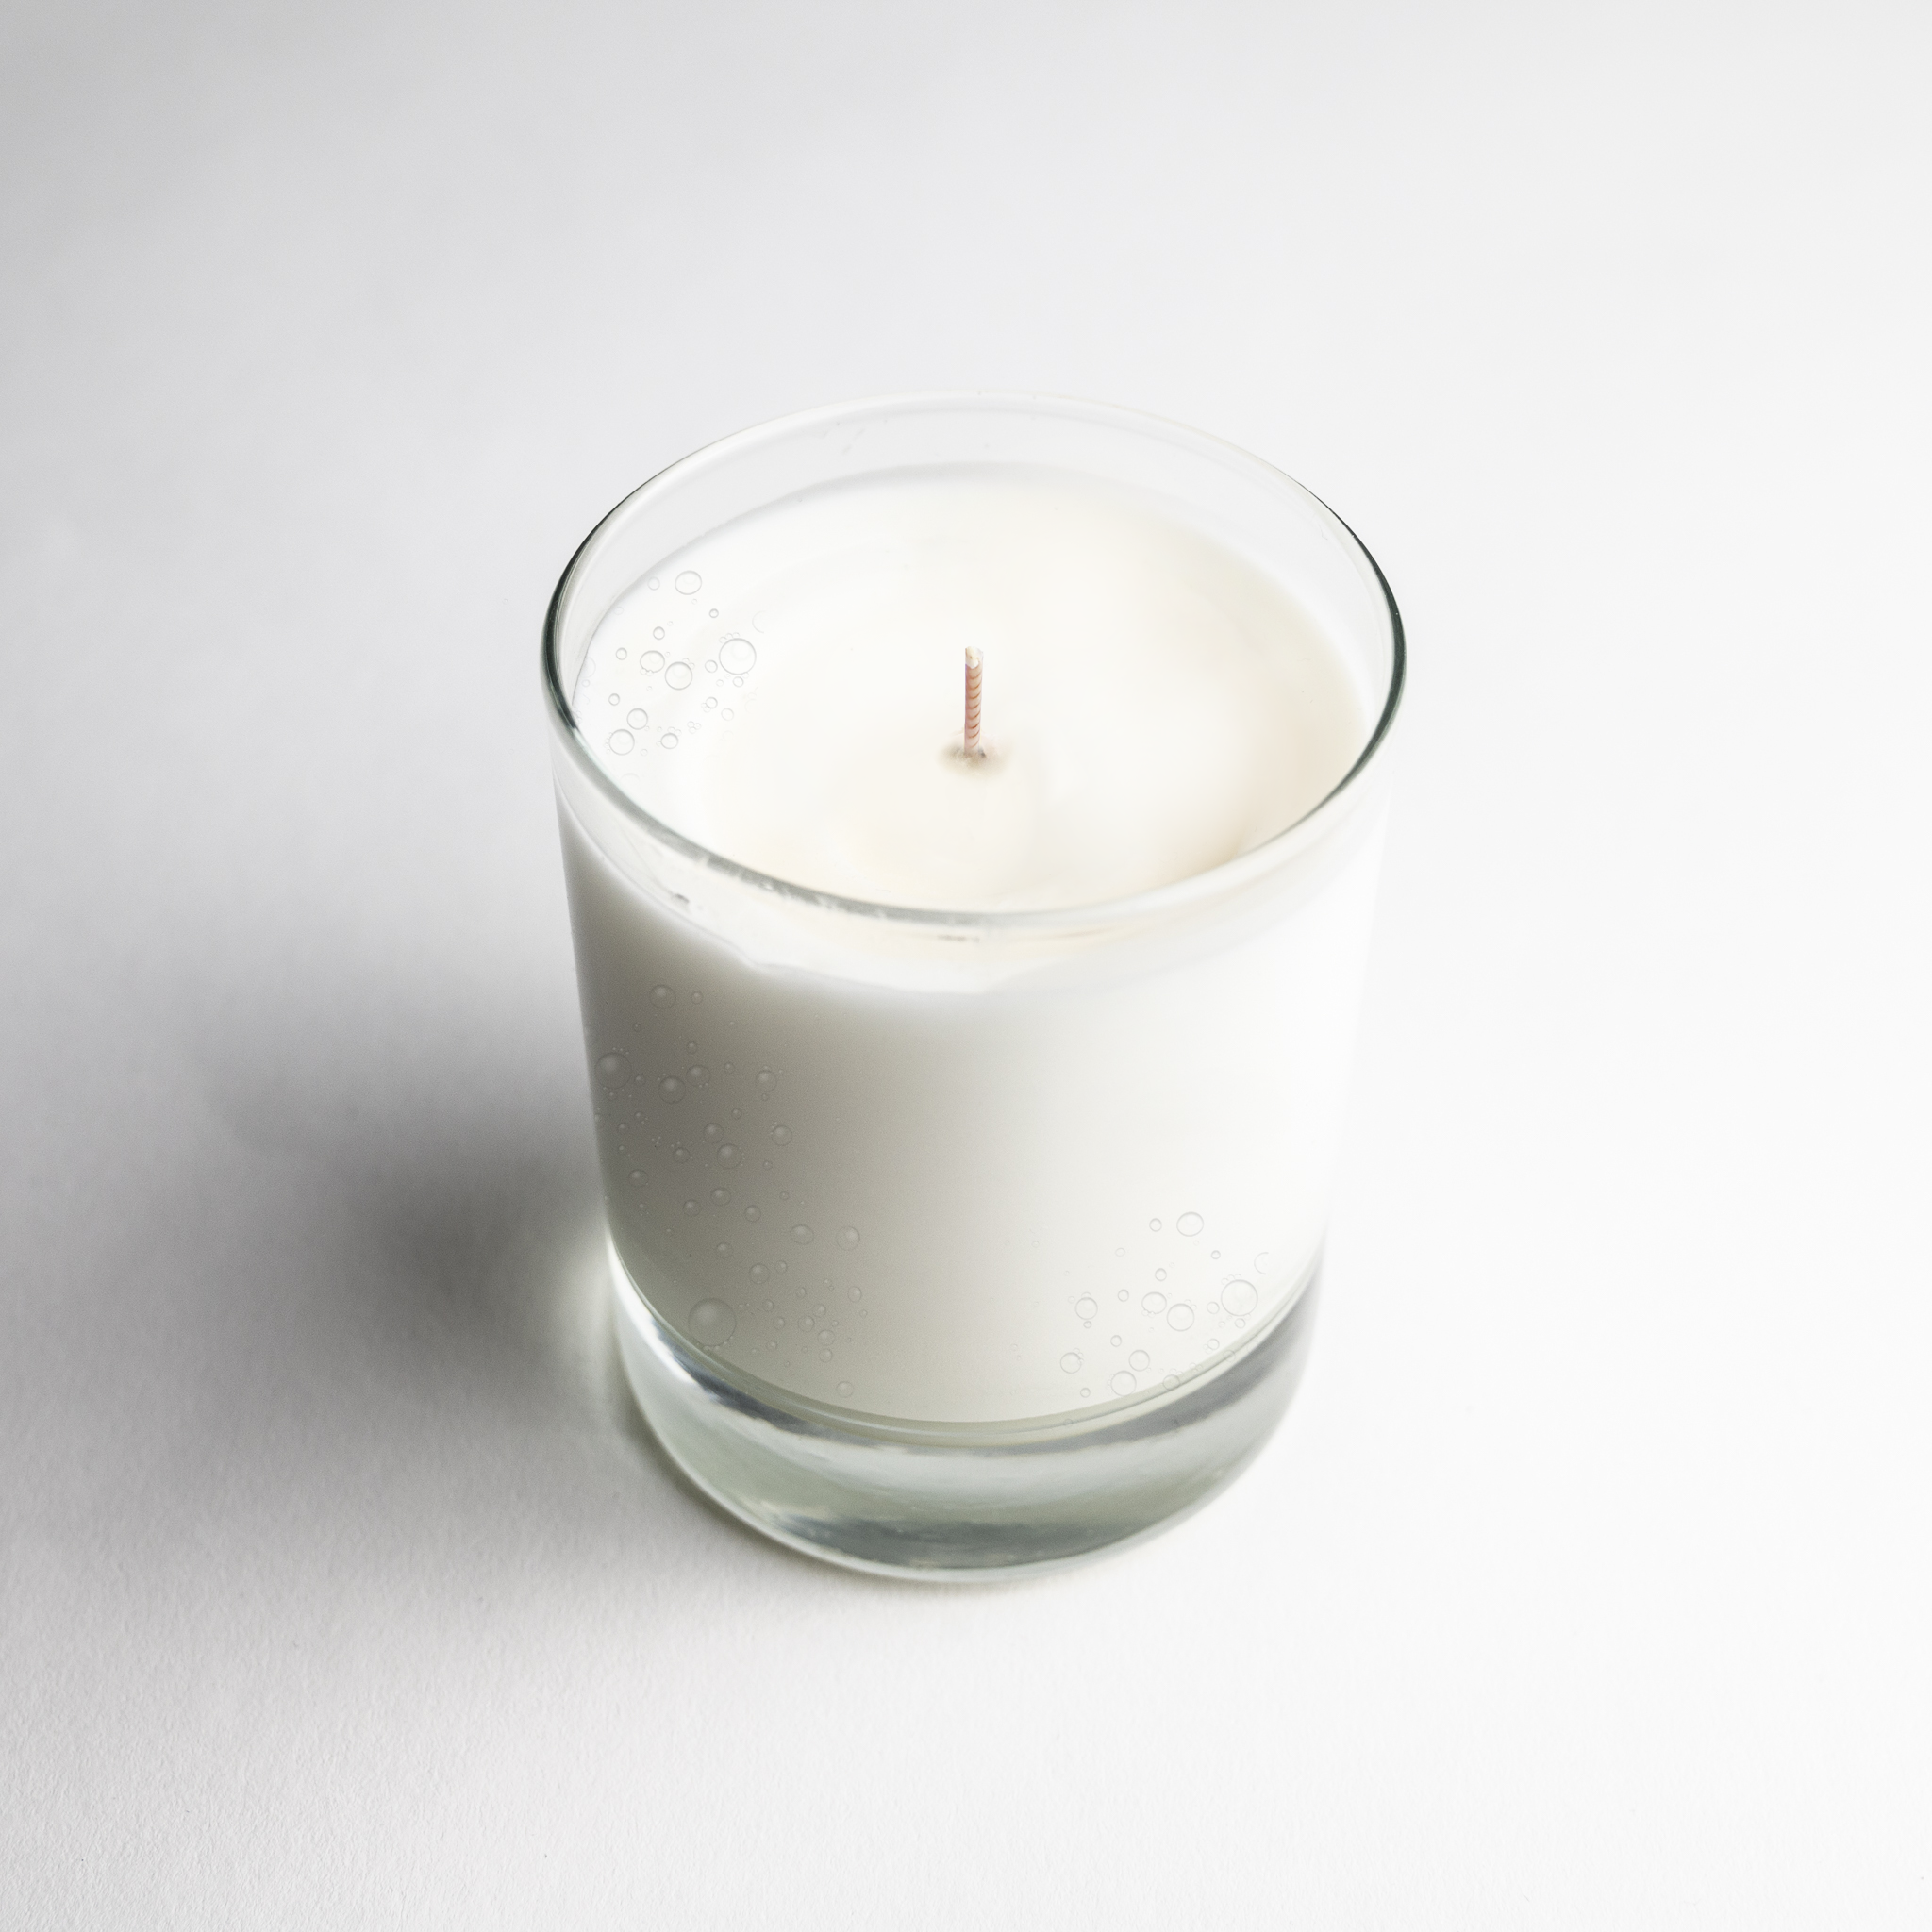
Tunneling is often found when your candle’s wick is consuming too much fuel from your candle at a rate it can’t burn off. Instead of melting your wax right to the edges, it forms a tunnel down the middle of your candle leaving unmelted wax around the edges. A simple fix includes changing your wick size. If your wick is too large, it will consume fuel too quickly, if your wick is too small it will be unable to create a full melt pool.
Read our blog; What Wicks To Use here.
If you have lit your candle and you aren't experiencing a strong hot throw, this could be due to a number of factors. As with most wax creations, we recommend curing your candles and wax melts for at least two weeks before lighting or melting. This gives your fragrance time to mature and bond with your wax for a better throw when melted. If you have cured your candles or melts and are still not experiencing a hot throw, it could be due to adding your fragrance oil when your wax was too hot. Adding your fragrance above 70 degrees makes it more likely to burn off and give you little or no scent when burnt.
Read our blog; How Much Fragrance To Add To Candles here for more information on adding fragrance.
Looking to dip your toe into the water? At Supplies for Candles, we have a range of starter kits designed to get you over the first hurdle. Shop the range to choose your creative path and have everything you'll need to make extra strong, luxury soy wax candles.

Everything you need to get started making your first candle.
Go to the Shop

.png)
.png)


.png)