Posted on: October 12th 2023

 Hub
HubFor all things candle and home fragrance making!
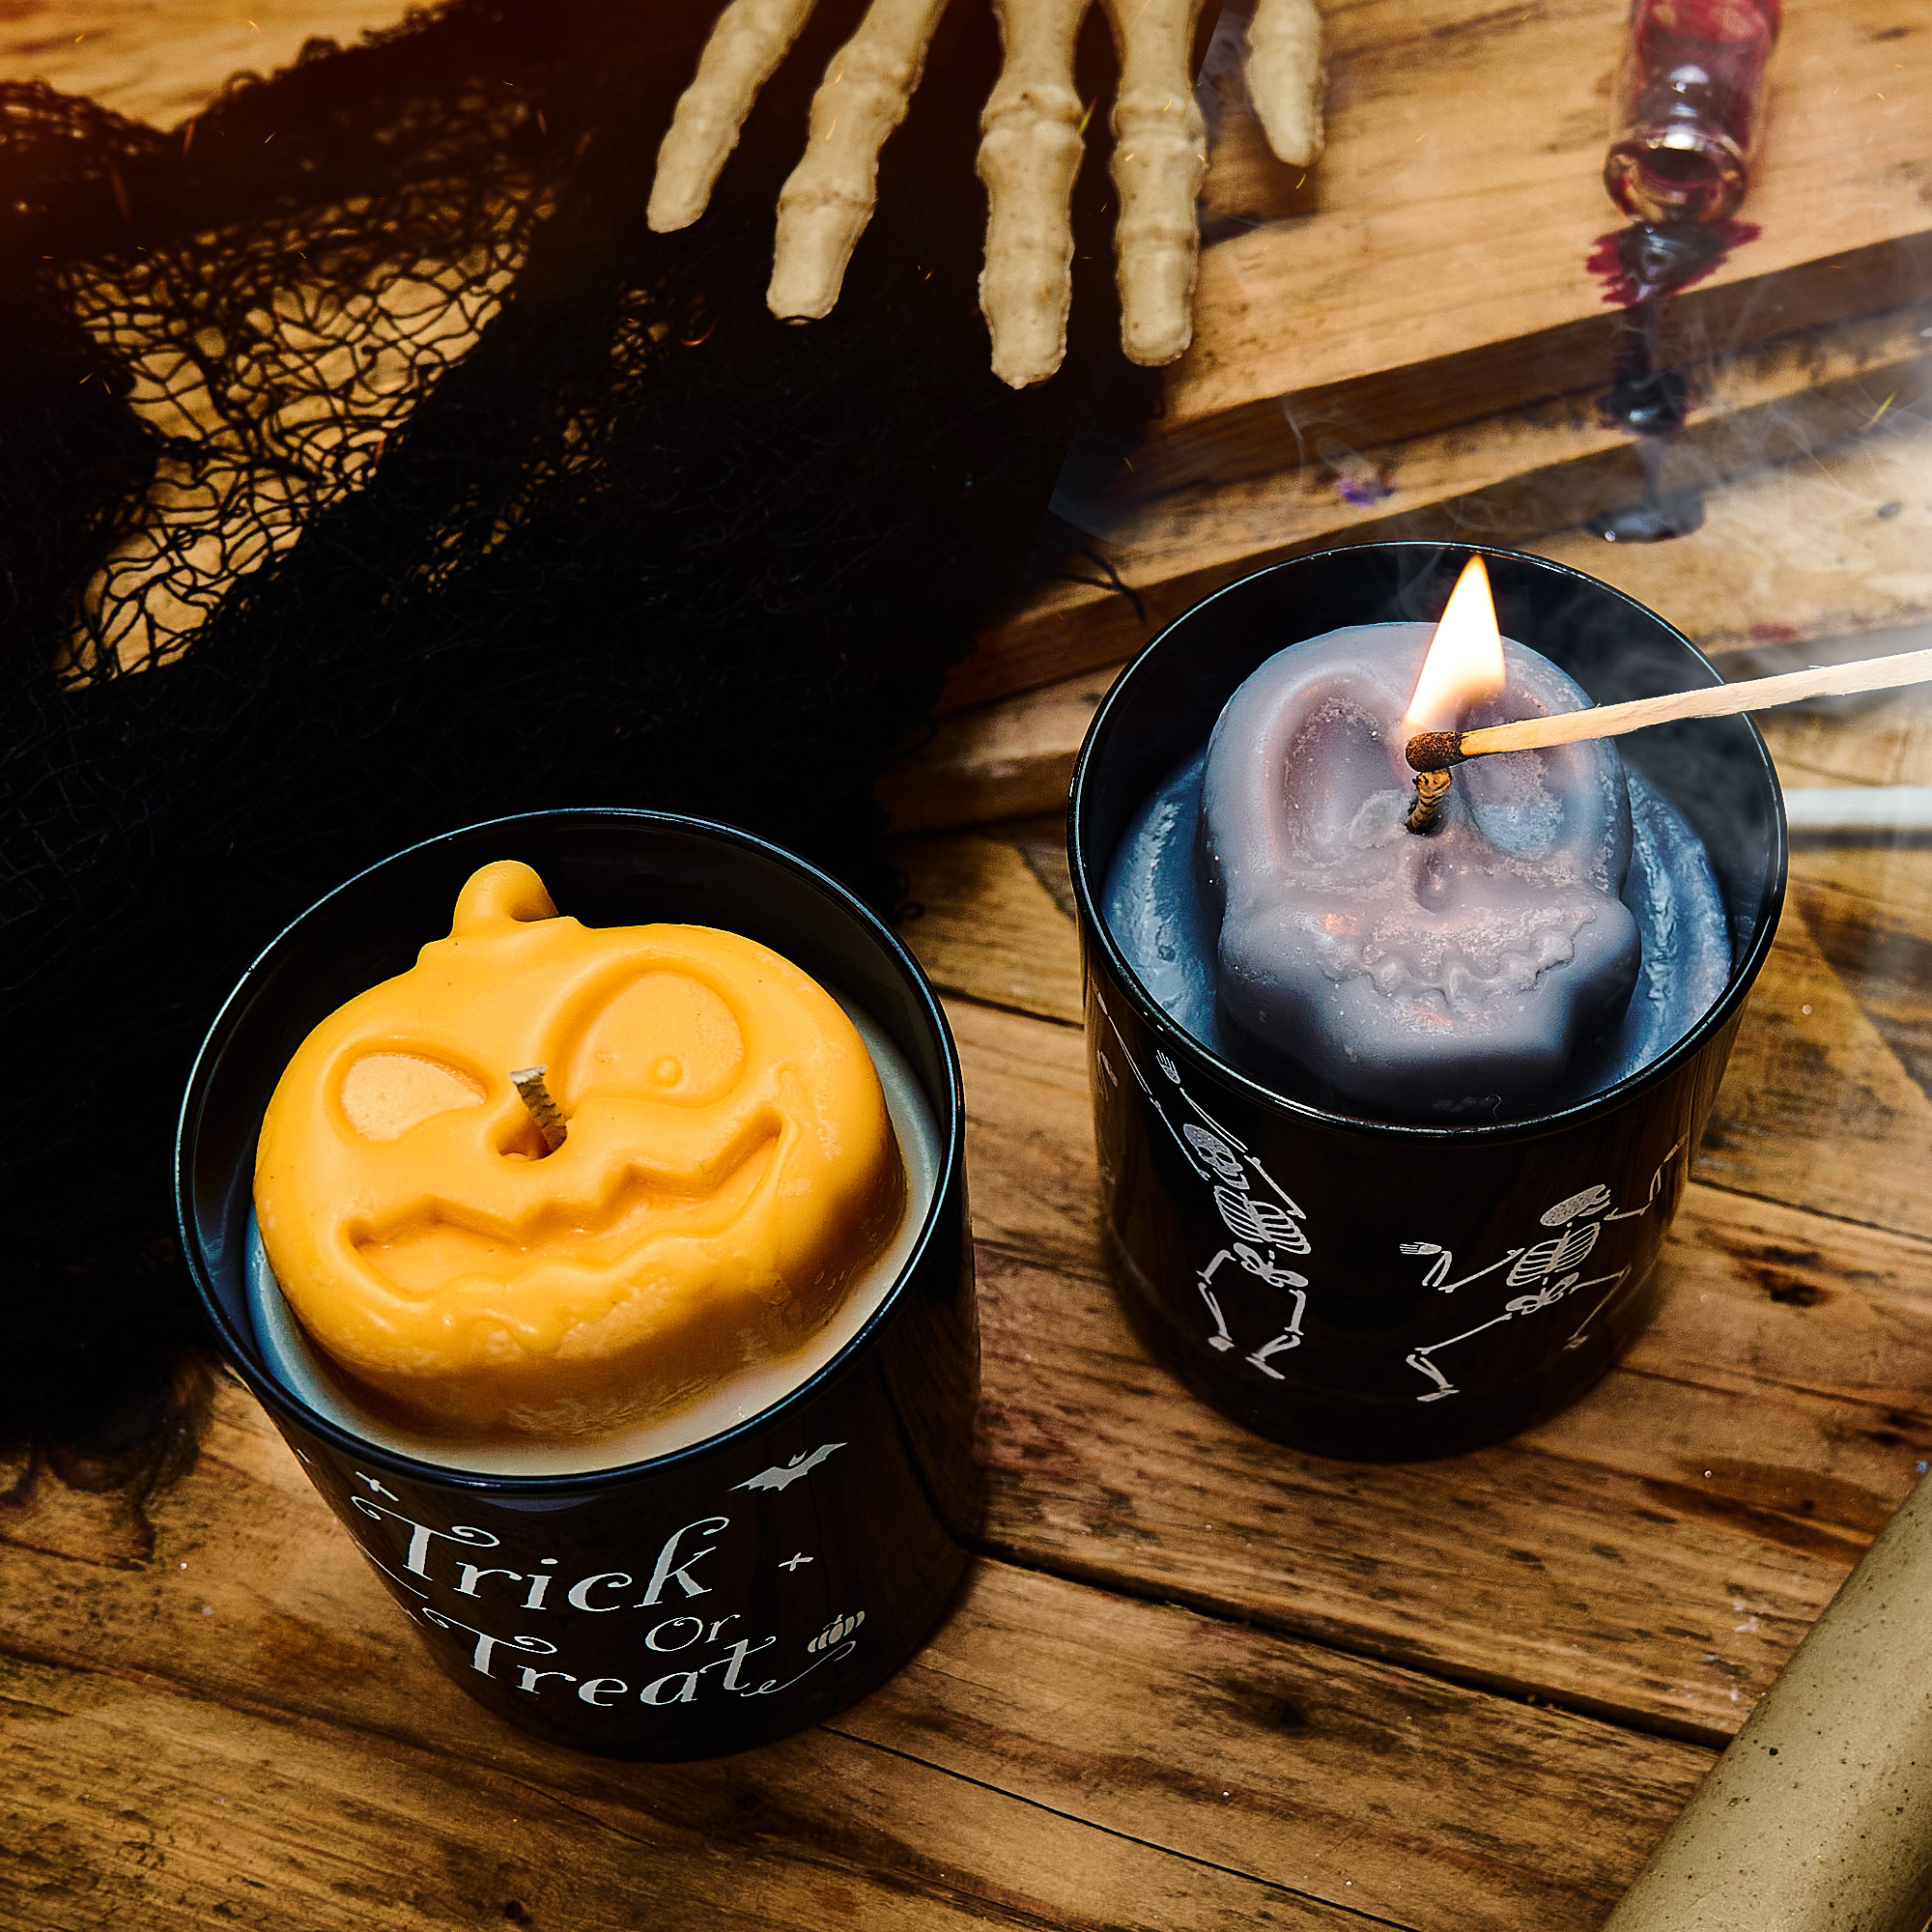
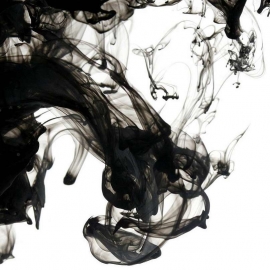
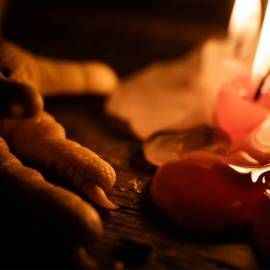
Are you looking for a fun way to get into the spirit of Halloween? Learn how to make Halloween Candles with our easy and rewarding project, that will make your home feel extra spooky. Crafting your own Halloween-inspired candles can be a creative and enjoyable activity, whether you're doing it as part of your business or just for fun! In this blog post, we'll guide you through how to make beautiful and unique Halloween candles that will bring light – literally and figuratively – to any space. So grab some wax, your must-have spooky scents, and let's get crafty!
If you’re planning to craft up some new décor for your home or create gifts for friends and family, making your own Halloween-themed candles it a must, it can be a fun, rewarding activity.
Ready to get into the Halloween spirit? Transform ordinary candles into spooky pieces of decoration with this DIY craft project. Create your own personalised Halloween candles that can add a frightfully beautiful touch to any room! The ultimate crafting project for Halloween, with amazing results! From buying ingredients and materials to finishing touches, we'll guide you through each step of creating your custom-made holiday goodies. At Supplies For Candles we have everything you need for this easy candle project, let's get crafting - it's time for some fun (and slightly scary) DIYs!
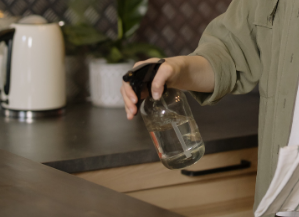
If you’re going to have some candles on display during the spooky festivities, it pays to be prepared. Ensuring that your Halloween candles burn evenly isn't complicated; there are a few simple steps you can take to make sure they last the whole night.
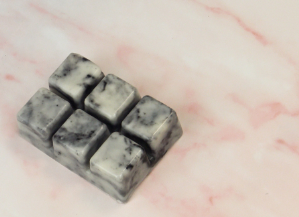
The key to ensuring that your candles burn evenly is choosing the right candle base. Candle waxes come in a variety of shapes, sizes, and materials - each with amazing properties for you to consider. This makes it easy to find a base that will fit your needs!
If you’re looking for a quick and easy solution, soy wax can be an ideal choice. Soy wax is natural, renewable, and has an even burning rate when compared to other materials such as paraffin or beeswax. It also contains no toxins or carcinogens so it’s safe for use around children and pets! Additionally, soy wax has been found to emit up to 50% less soot than traditional paraffin candles when burned properly.
Beeswax is another great option when looking for longer burning times and consistent flame height without smoke or fumes. Its honeycomb texture helps create excellent stability which produces beautiful candle color effects as well as soak-proof wicks that won’t clog up with residue like other bases tend to do. Beeswax also burns slower than many standard alternatives giving you hours of long-lasting pleasure from your candle experience while creating less waste at the same time!
Paraffin wax is probably the most commonly used type of wax in candle making today due its ability hold colour and fragrance very well plus its relatively low cost compared with some more expensive alternatives like soy or beeswax.. Furthermore paraffin gives off thick smokeless flames offering nice visual effects because they have a higher melting point than others types of lamps allowing them burn cleanly without leaving any wet spots on the surface where you lit them up! Finally depending on what type of container your using it may be worth investing into Gel Wax which can offer thicker walls at much safer temperatures thus helping maintain desired hot spot free burn rates!
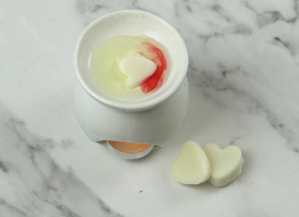
• Pumpkin Silicone Mould
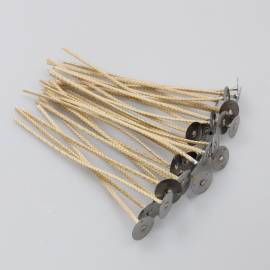
• 4 x Wick Bar
• 3 x TCR33/18 Wick
• 2 x Wick Stick Ums
• 2 x 30cl Candle Glass
• 1 x Seasonal Mould
• Heat Gun
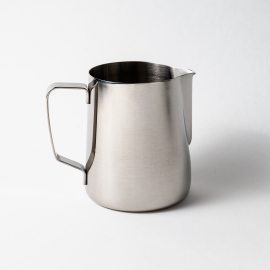
• 2 x Metal Jugs
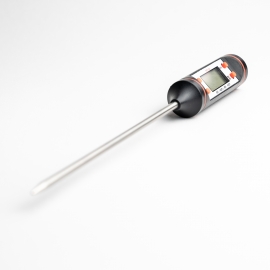
• Digital Thermometer
• Wax Melter (optional)
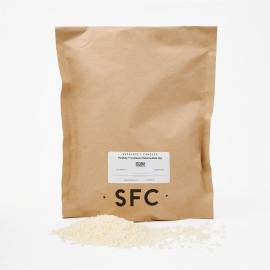
• 440g Container Wax
• 44g Fragrance Oil
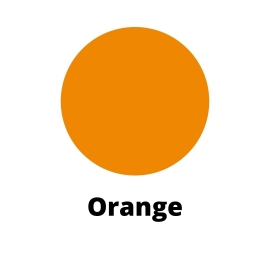
• Black Liquid Candle Dye
• Orange Candle Dye Chip
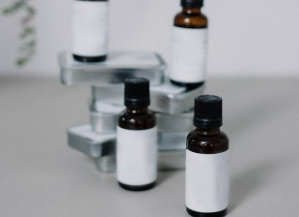
Shop all ingredients below.
This recipes makes approximately two 30cl candles. Always check the IFRA and legal limits for your chosen fragrance or essential oil.

Everything you need to get started making your first candle.
Go to the Shop


Sign up to our mailing list to ensure you don't miss out and get 10% off your first order in your welcome email!


.jpg)