Posted on: August 17th 2023

 Hub
HubFor all things candle and home fragrance making!
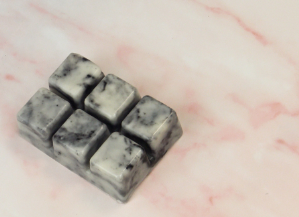
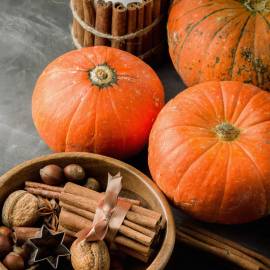
What better way to bring the sights and scents of autumn into your home than with gorgeously spooky pumpkin wax melts! The possibilities are endless when it comes to crafting beautiful wax melts, but don't feel overwhelmed because we’re here to show you how easy this surprisingly simple project can be. Whether you're a hobbyist looking for something new to try, a crafter wanting to bring some homemade aromas into your projects, or an business wanting unique product ideas - this blog post will give you all the tips and tricks on creating amazingly scented (and totally Instagrammable!) DIY Pumpkin Wax Melts!
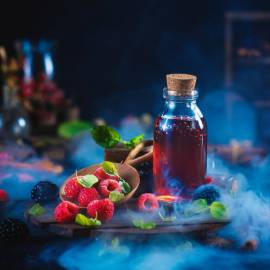
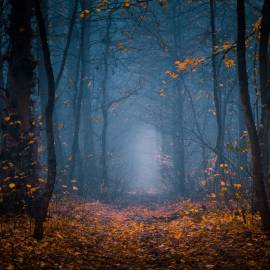
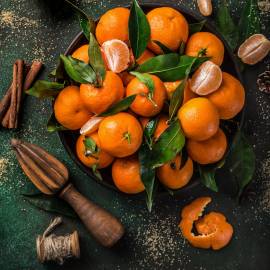
Fall is full of wonderful scents, from pumpkin spice to autumn leaves, crackling log fire to festive orange spice. Pumpkin wax melts make a great way to add some subtle autumnal ambiance to your home or workspace!
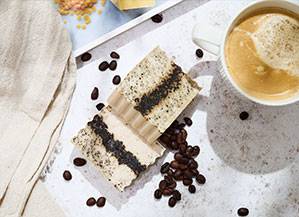
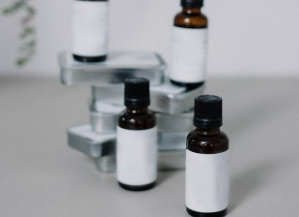
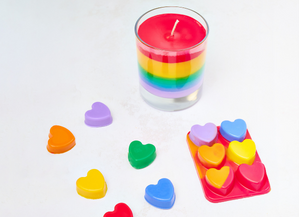
For colouring wax melts you can choose between Dye Chips, Liquid Dyes and Mica Powders depending on your preference.
Our Bekro Dye Chips, offer strong and stable colour for your wax melts, with minimal impact on melt performance. Also available in a neon range, to add an intense pop of colour to your creations.
Our Liquid Dyes are great for wax melts as they are very highly concentrated and available in a selection of colours, which you can mix to find your perfect shade. Due to their high concentration, a little goes a long way, meaning the dyes will last and you can create endless possibilities of colour. From lighter, pastel shades through to rich, intense colours.
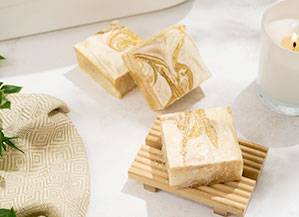
Our Mica Powders are an alternative colourant for wax melts, that produces an eye-catching pearlescent sheen in your products. They are amazing for use in wax melts, as their shimmer fills the melt pool to create a beautiful effect.
Why not add a touch of sparkle to your wax melts? Our glitters, range in colour, size and shape to add character to your creations, that float as they melt.
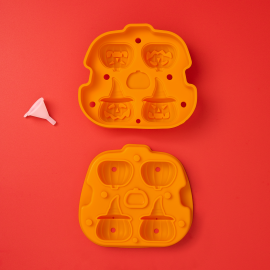
• Pumpkin Silicone Mould
• Stainless Steel Pan
• Thermometer
• Measuring Jugs
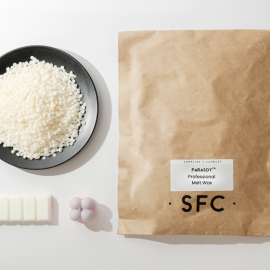
• 150g ParaSoy Professional Melt Wax
• 15g Fragrance or Essential Oil
• Orange Mica Powder
• Black Dye Chip
Shop all ingredients below.
This recipes makes approximately 5-6 pumpkins. Always check the IFRA and legal limits for your chosen fragrance or essential oil.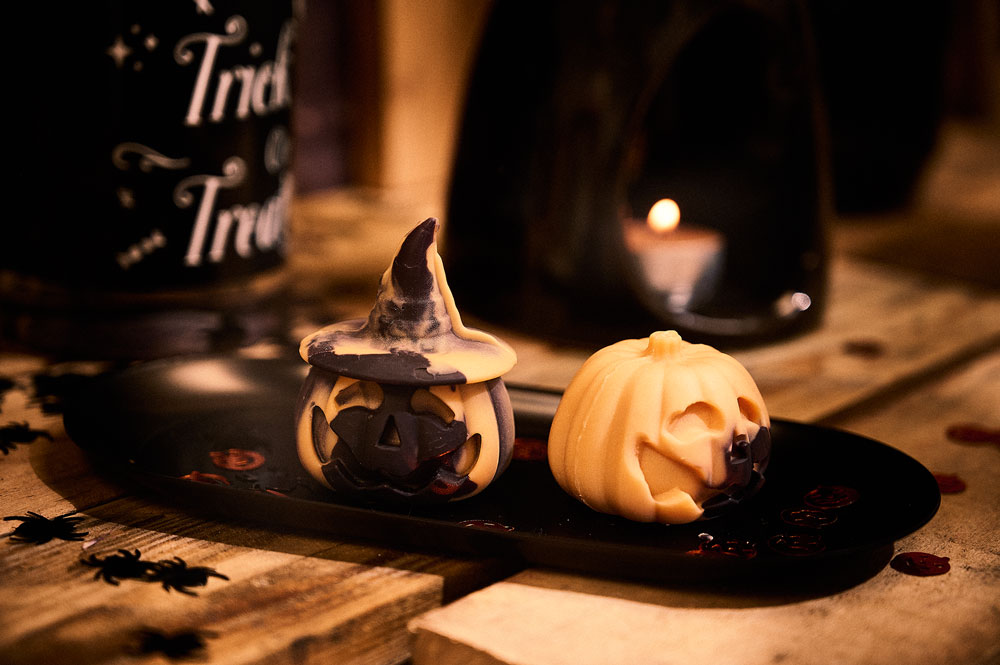
Please note, this mould comes with a funnel, if your wax isn't hot enough the funnel will clog when pouring.
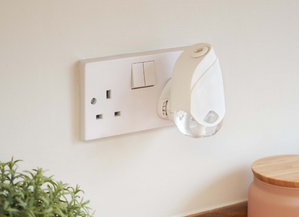
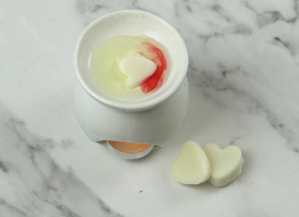
When it comes to burners for larger wax melts, larger wax burners are better. They are safer as they tend to heat up faster and more evenly, distributing the heat better than smaller ones due to their increased surface area. You also need to ensure the gap between your flame and the base of your melt pool is at least 10cm whether you are using a two, four or eight hour tealight, the gap needs to be the same for safety, to allow air to circulate effectively and to reduce the risk of fires.
Storing wax melts is an important part of making sure that they remain their strongest and most fragrant. To ensure that your wax melts last, there are a few simple ways to store them properly.
First things first – when you purchase or make your wax melts, make sure to put them away somewhere safe and out of the sun’s rays. Sunlight can evaporate the fragrance in your wax as well as weaken it over time. Make sure to keep it away from any kind of heat source such as a direct sunlight, stovetop, or even near other strong-smelling items like potpourri. You also want to make sure that your wax melt is sealed well so that it doesn’t puddle or leak any fragrance or oils into its container before burning.
When storing large quantities of extra wax melts, consider placing them in glass jars with airtight lids for added protection from light and air exposure which can cause damage over time. The jar should be opaque rather than transparent so that no light reaches the contents inside which could potentially ruin the scent within days if ignored! It is also important not to stack too many pieces on top of each other as this could cause warping due to melting together (this would create an overly potent aroma).
If you choose not to store in glass jars but instead opt for cardboard boxes or plastic containers – make sure they have secure lids so no air enters (and contaminates). Store them away from any unwanted odours like smoke etc… Always remember: Proper sealing will protect against both moisture loss and absorption which ultimately preserves fragrance strength and longevity!

Everything you need to get started making your first candle.
Go to the Shop


Sign up to our mailing list to ensure you don't miss out and get 10% off your first order in your welcome email!


.jpg)