Posted on: December 15th 2023

 Hub
HubFor all things candle and home fragrance making!
Have you ever dreamed of walking through the magical world of Willy Wonka's chocolate factory? I know I have! As a kid, those scenes of the chocolate river winding through the factory and the ocean of chocolate that flowed from the great glass elevator fascinated my imagination. To this day, the creativity and wonder depicted in Roald Dahl's classic novel still inspires our own crafting adventures. For today's post, we wanted to share an easy DIY project that brings a bit of Wonka's whimsical magic into your home through the sweet scents of chocolate wax melts.
Using only a few wonderful ingredients like wax, dye chips, cocoa powder and fragrance, you can craft your very own hand-poured chocolate wax melts inspired by the world of pure imagination. Follow along as I guide you through the simple steps to infuse your space with the aroma of rich cocoa all while fueling your own creative spirit.
Cocoa powder is a great and often overlooked additive for wax melts. The addition of cocoa powder can infuse an amazing chocolate aroma that will fill up your home with warmth and comfort. Not only will your home smell delicious, you'll also get to enjoy the antioxidants from the cocoa powder – these are great for keeping your skin healthy and glowing!
It's best to mix the cocoa powder into melted wax before pouring it into moulds or containers - this ensures proper distribution throughout your wax so you can enjoy a consistent scent all around your house! Additionally, make sure the type of cocoa powder used is unsweetened otherwise this could cause issues during melting/cooling process due its additional sugar content.
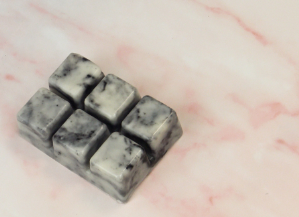
A added bonus is that cocoa powder adds a rich brown colouring to your wax melts, creating the perfect indulging chocolate colour with ease.
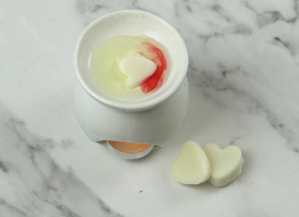
Wax melts are highly versatile and can be made to look like almost anything – even food! While you won’t want to eat them, wax melts can easily be moulded into the shapes of your favourite foods, making your home smell as delicious as a five-star restaurant.
With the growing popularity of wax melts, especially food imitating wax melts it is important to know the best practice around creating these unedible but equally yummy looking goodies!
In a lot of countries there are laws against making products to sell to the public, such as wax melts, candles, bath bombs and soaps that look like food. That being said, there are also many countries that don't have laws in place for this kind of creativity, meaning you can let your imagination run wild when it comes to food imitation. But before you take this route, we always recommend checking the laws for your country, as we don't want people mixing up your products with a tasty snack and you haven't followed the regulations.
For those that can make food related wax melts, the most popular tend to be those shaped like fruits and desserts. From mangoes and apples to blueberry pies and donuts, you can quickly craft something that looks good enough to eat with just a few materials.
While it takes some practice, you don't need any special skills or equipment in order to make your own edible-looking wax melts. All it takes is an understanding of how melting and pouring works combined with some creativity!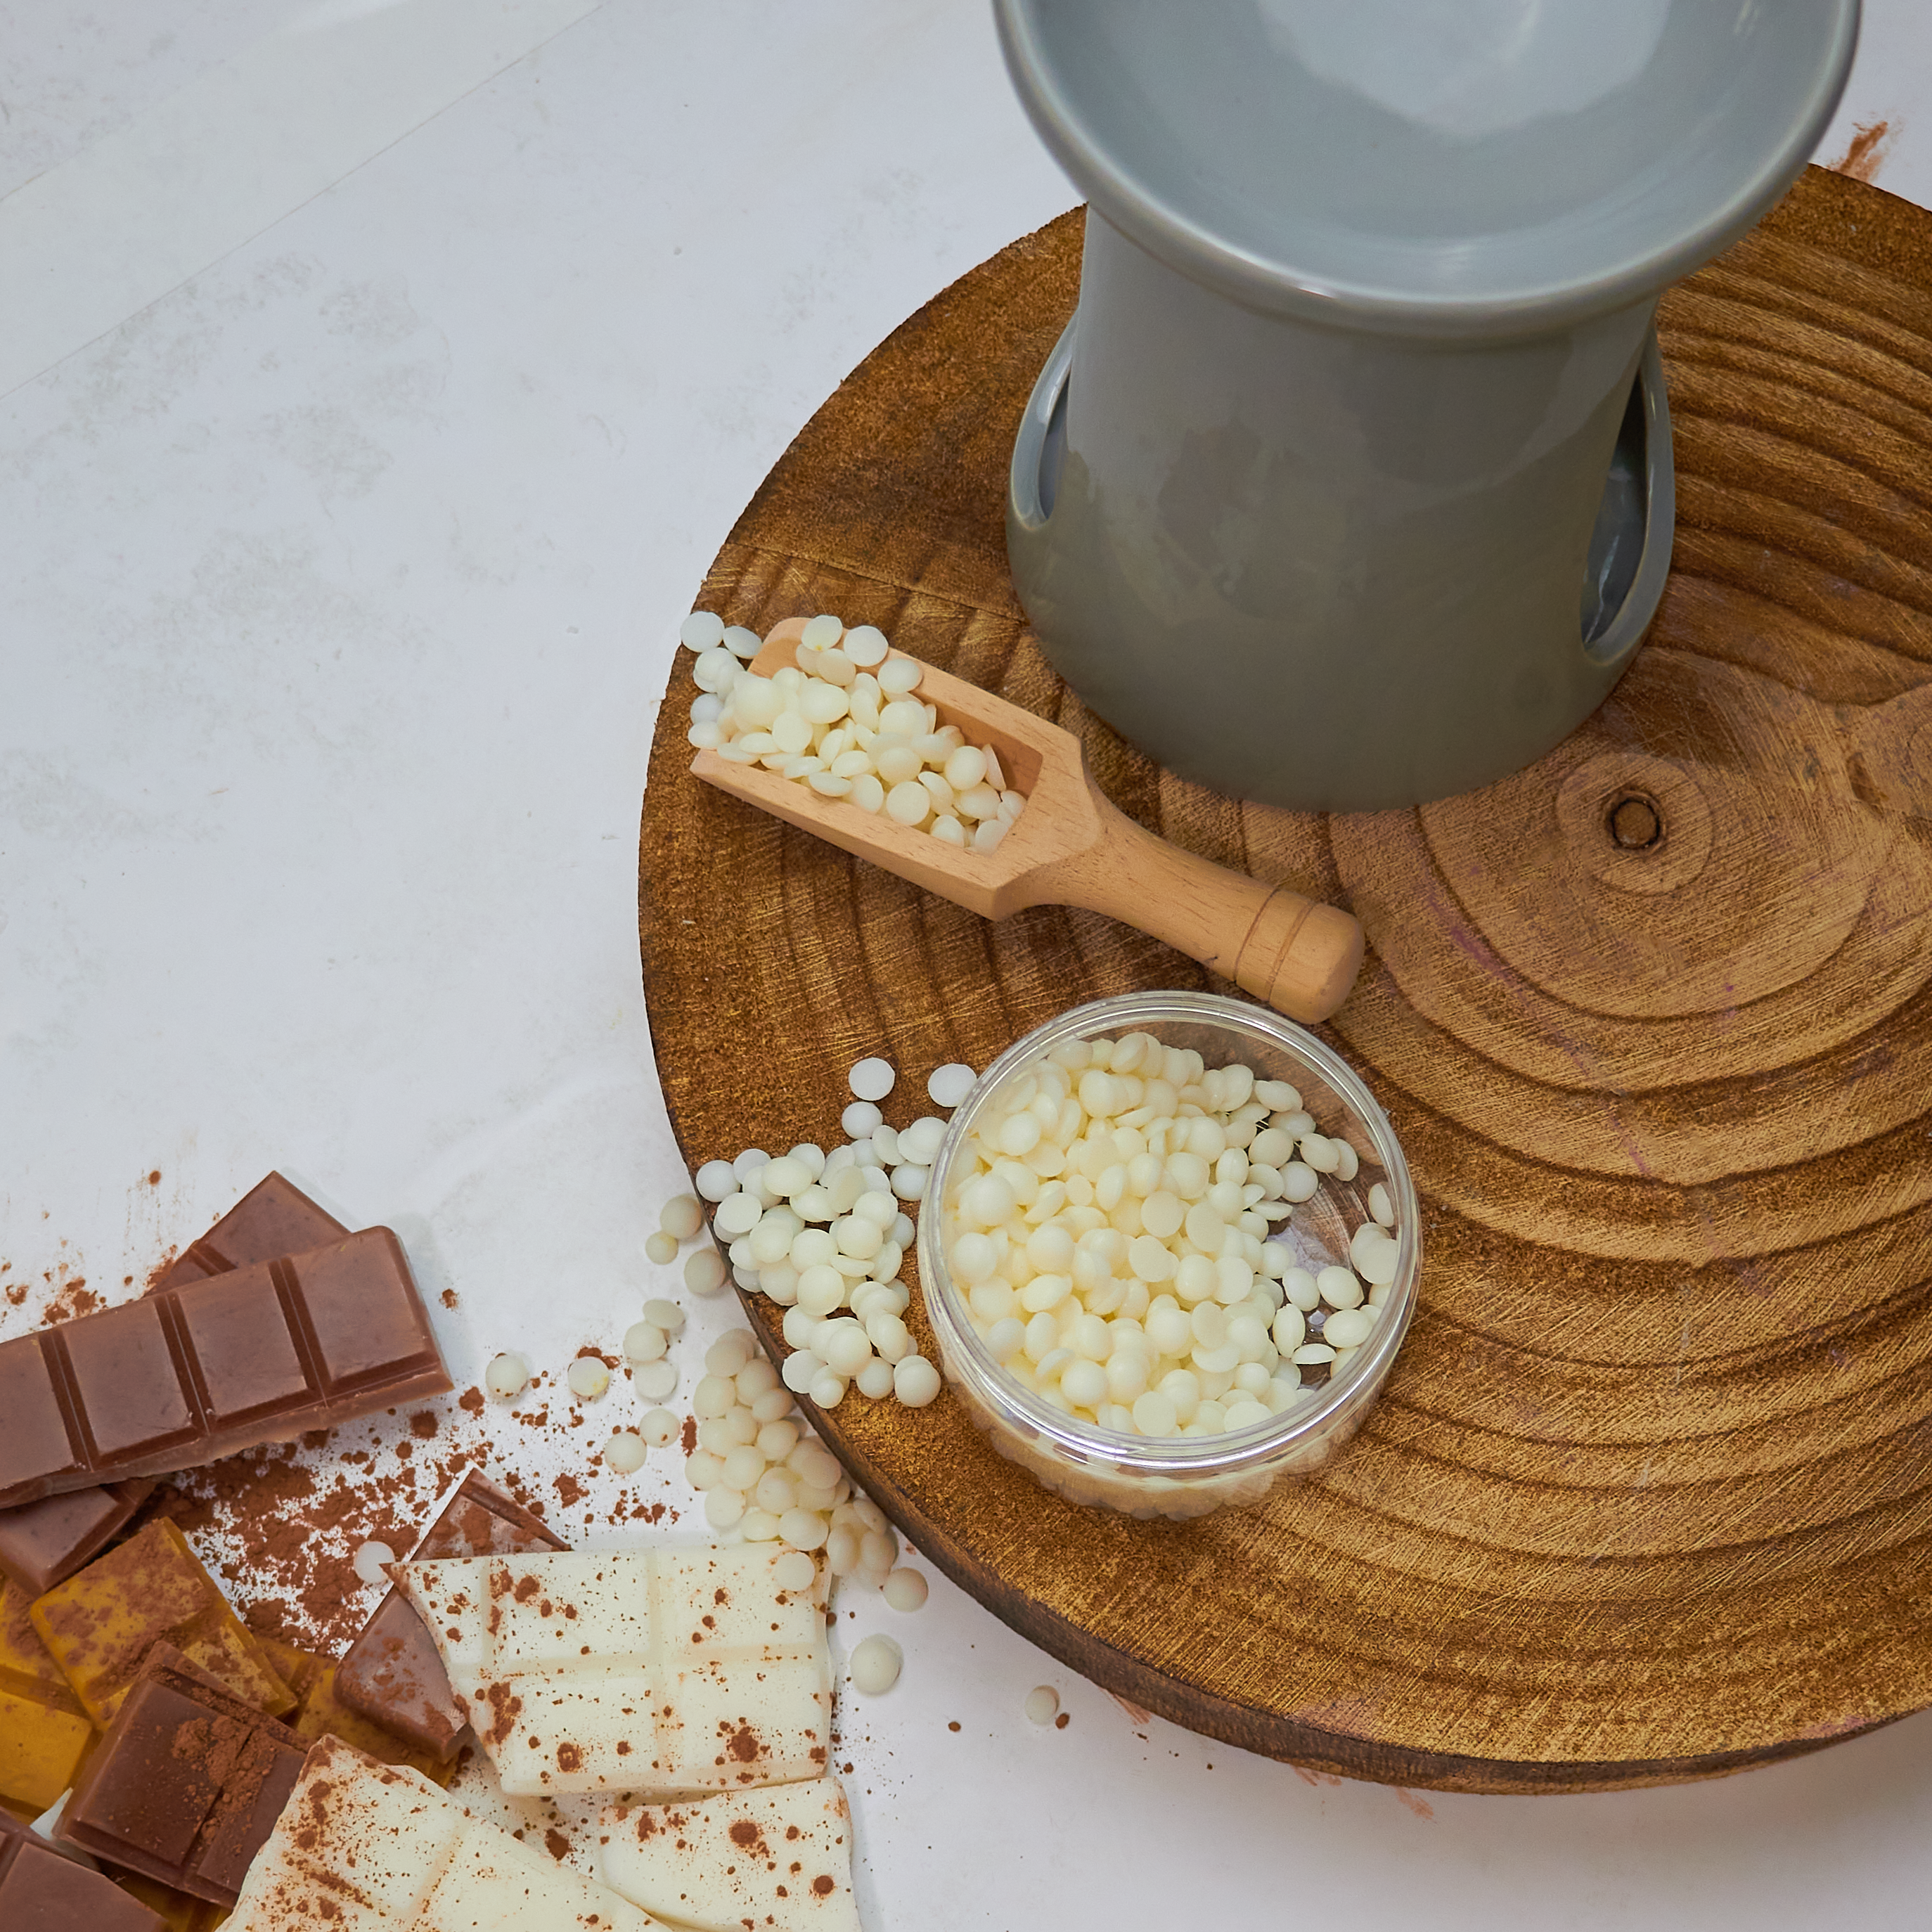
• 220g ProSoy Pillar Wax
• 20g Fragrance Oil
• Green Dye Chip
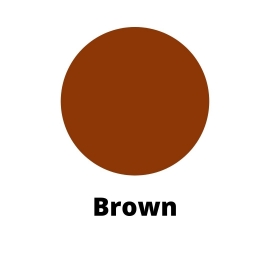
• Red Dye Chip
• Yellow Dye Chip
• Wedo Eco Wick
• Wax Melter (Alternatively a double boiler)
• Spatula
• Thermometer
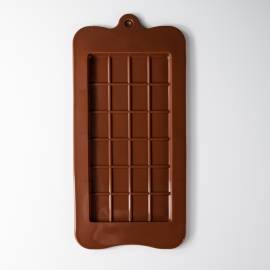
• Chocolate Bar Mould
• Weighing Scales
• Jug
Always ensure you check the food imitation laws for making wax melts in your country, before making this recipe to sell to the public.

While the exact time it takes to set depends on the type of wax, temperature, size of your melt and environment you’re making them in - generally speaking, wax melts will take between 2-6 hours to completely set.
If the room or area where your melts are setting is too warm then they may start to soften before they have completely cooled. On hot days like these, place them in a cooler area as this will help keep temperatures low enough for your wax melts to properly harden.
Once your wax has melted and cooled off it should be given at least 4-5 hours after pouring before removing it from its mold. It is best that you wait until the entire piece has solidified before attempting to remove it so that the shape isn’t distorted by premature removal.
Do wax melts have an expiry date? The simple answer is yes, they do. Wax melts are scented wax cubes that are heated to release a fragrance into the air. As with most perfumed items, their scent will eventually start to fade over time if stored improperly or exposed to extreme temperatures.
When it comes to wax melts, all manufacturers will recommend using them within 12 months after opening the package. This is because both the volume and intensity of scent from each melt may begin to decrease overtime due to oxidation and exposure of air elements such as humidity or dust particles in environment.
Wax melts packaged tightly with little contact with oxygen won't necessarily expire, but their quality and performance will deteriorate after time. Generally speaking, it's safe (and more enjoyable) to store your wax melts properly until they're all used up!
If you follow these guidelines on storing your products correctly and using them within a timely manner, then there is no need for concern regarding expiration dates when dealing with wax melts! It's best practice though to double check the manufacturer's instructions on how long their specific product can be stored before purchasing.

Everything you need to get started making your first candle.
Go to the Shop

Sign up to our mailing list to ensure you don't miss out and get 10% off your first order in your welcome email!


.jpg)